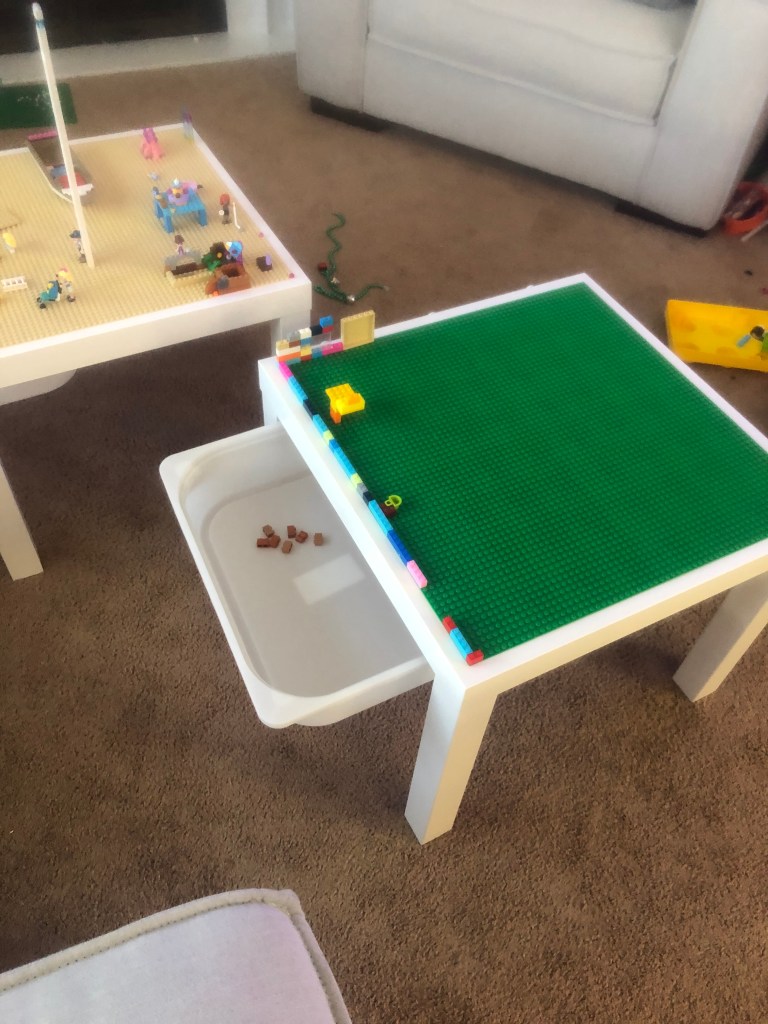
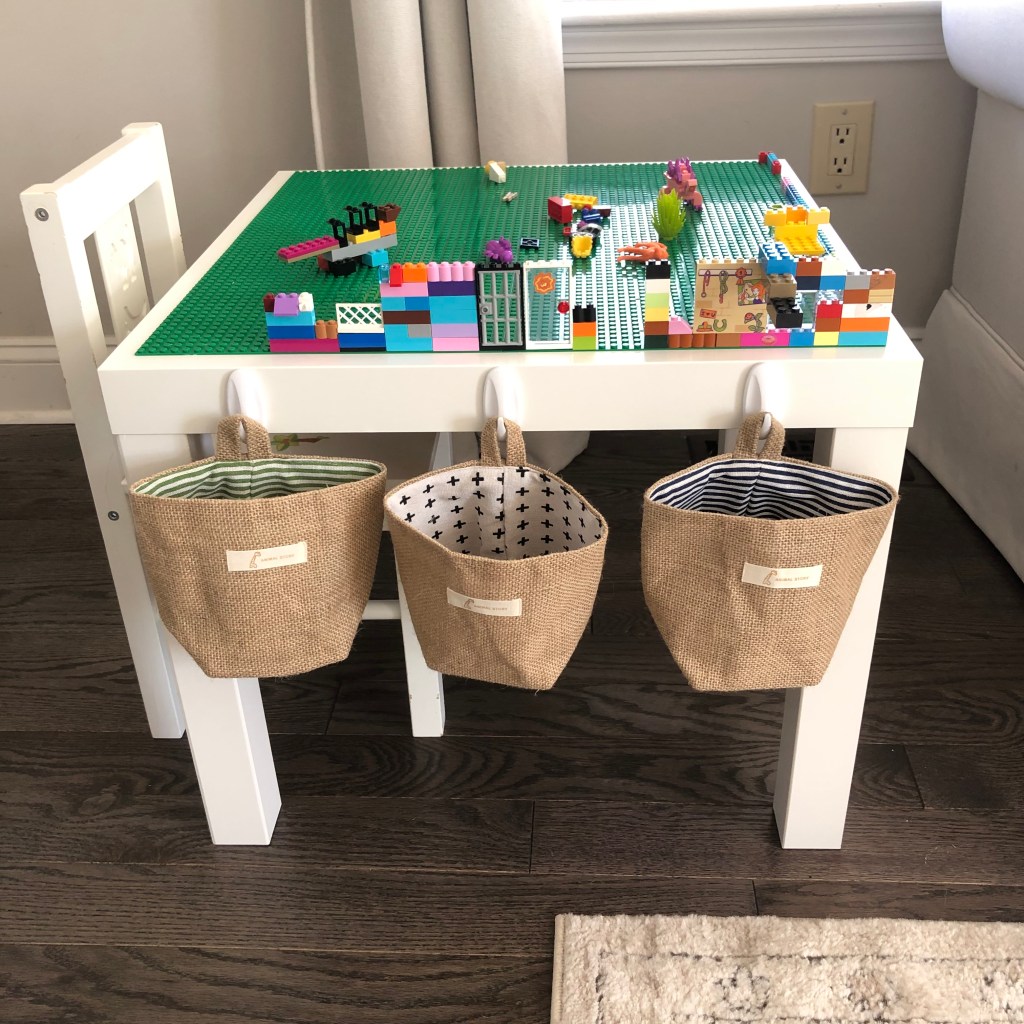
My kids legos were EVERYWHERE so I wanted some type of storage but couldn’t find anything online I loved. So here is the tutorial for building your own lego table using Ikea’s lack side table (which is only $9.99!!)
What you will need:
- Ikea lack table
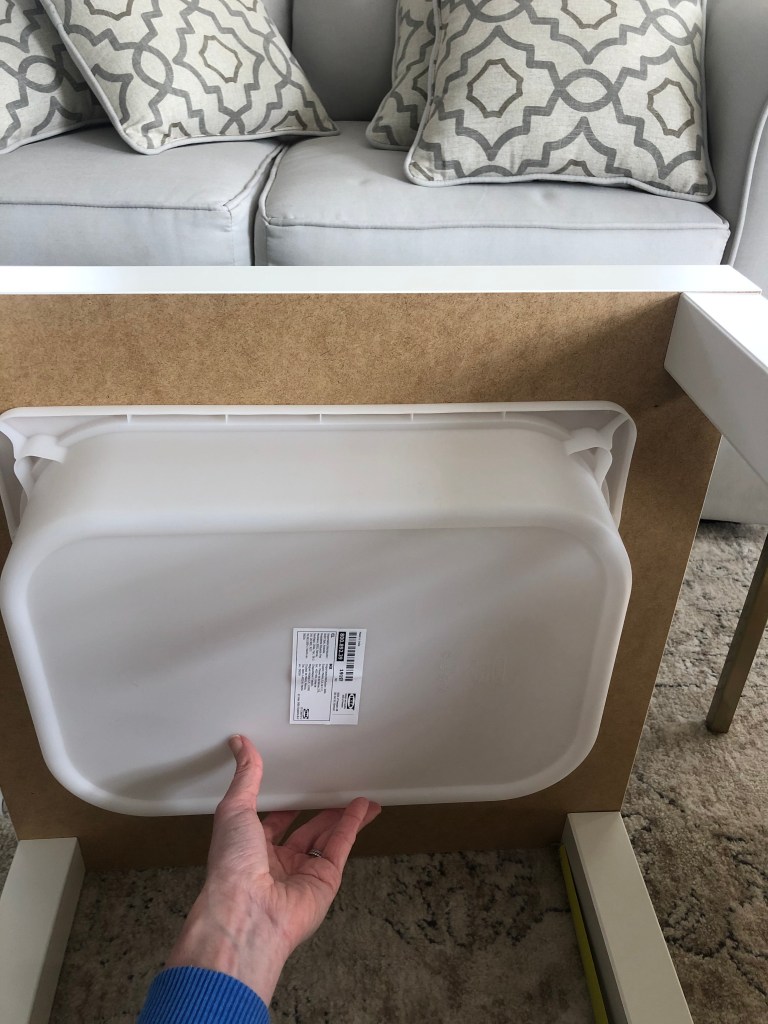
- Ikea undermount storage
- Command strips
- Lego baseplates
- Hanging storage bags
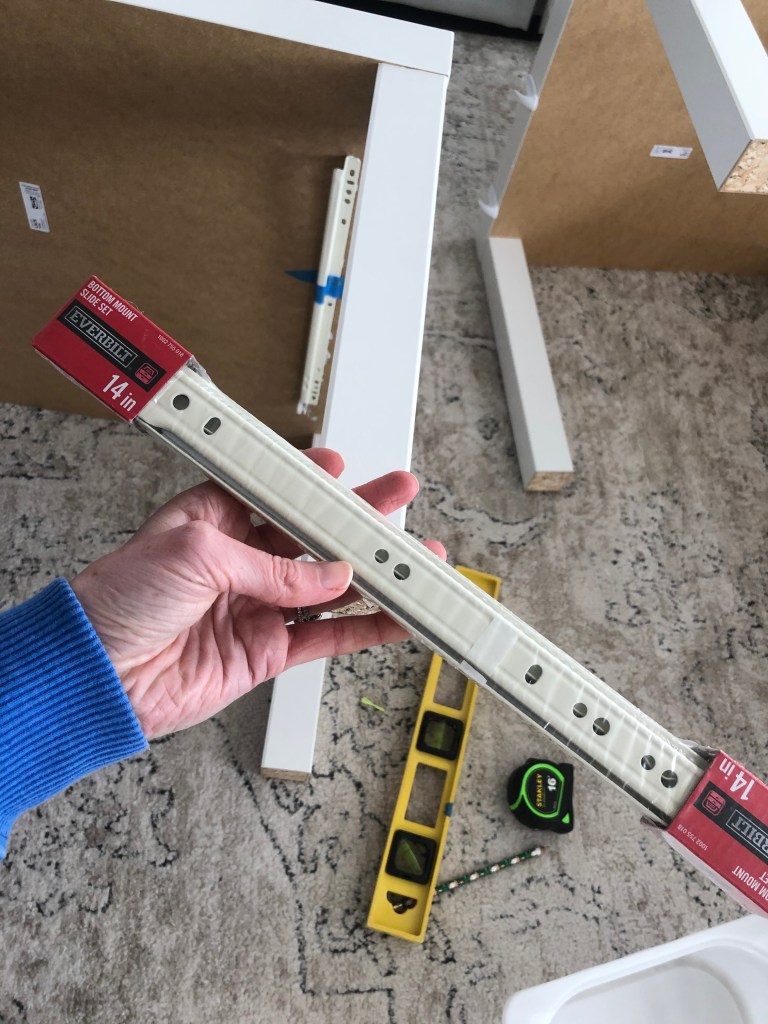
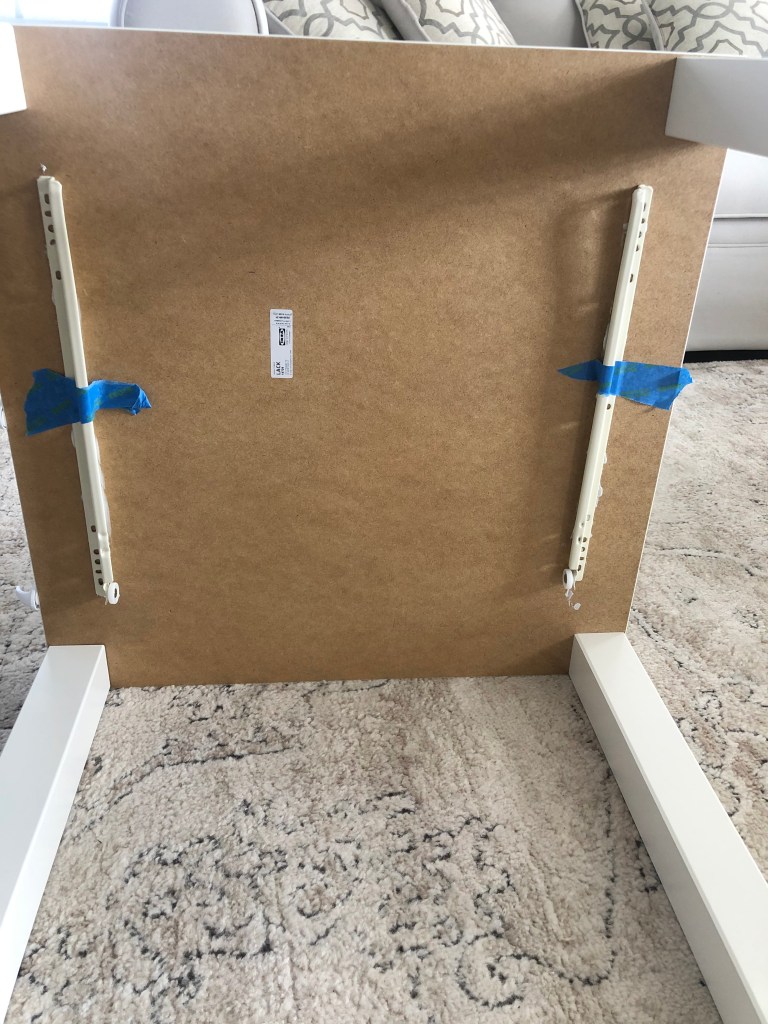
- Drawer Slide
- Gorilla Glue
The Ikea lack table is super easy to put together.


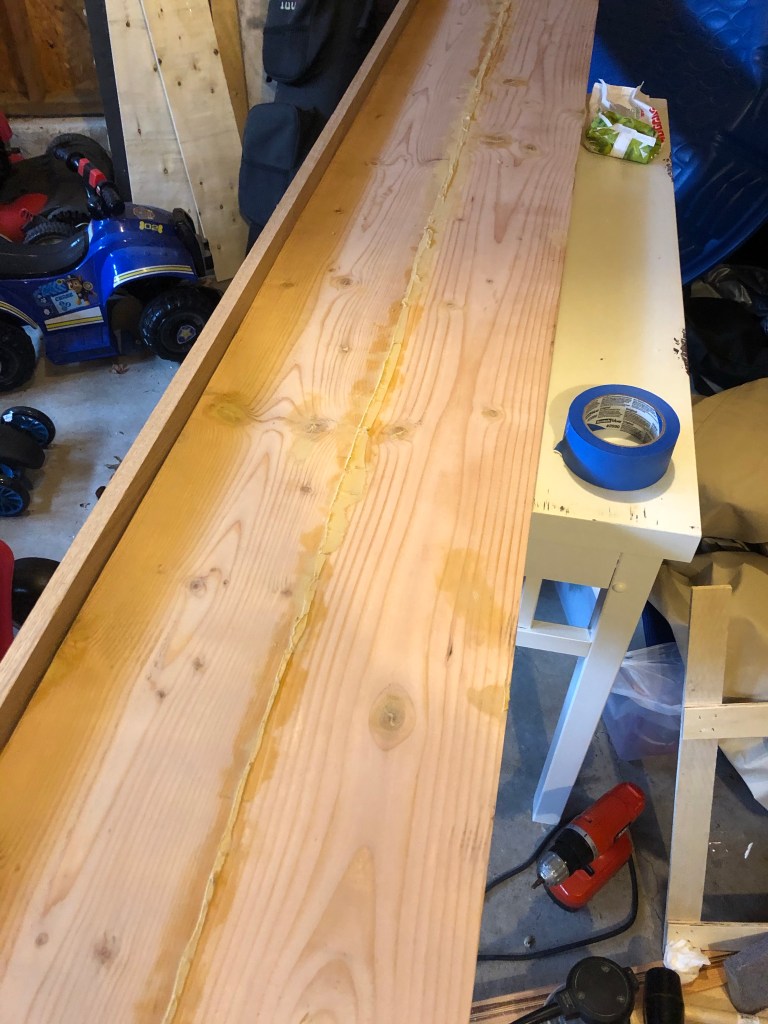
I was running low on gorilla glue so I used both gorilla glue and wood glue but would recommend the gorilla glue.

Next I eyeballed where the baseplates should go and then glued one at a time directly to the table.

My kids have SOOOOO many legos I needed as much storage as I could get away with. So I added these adorable baskets to the side of the table using command strips. I made a table for each kid and let them pick out their baseplates.


Like I said, the more storage the better. So I bought the trofast storage bucket from ikea to use underneath the table. It holds soooo many legos!!

Now how to mount it…I had no idea if this was going to work but thankfully it did! I bought regular drawer slides and used part of them to mount to the bottom of the lack table. You just use your super glue again (lots of it) and attach the drawer slides. when putting these on just make sure your bucket will fit. I ended up laying my completely upside down and figured out exactly where to glue my drawer slides. You will want the lip facing in so it will catch on the storage bucket.
Wait for everything to dry and you are DONE! Hopefully no more stepping on tiny lego pieces!