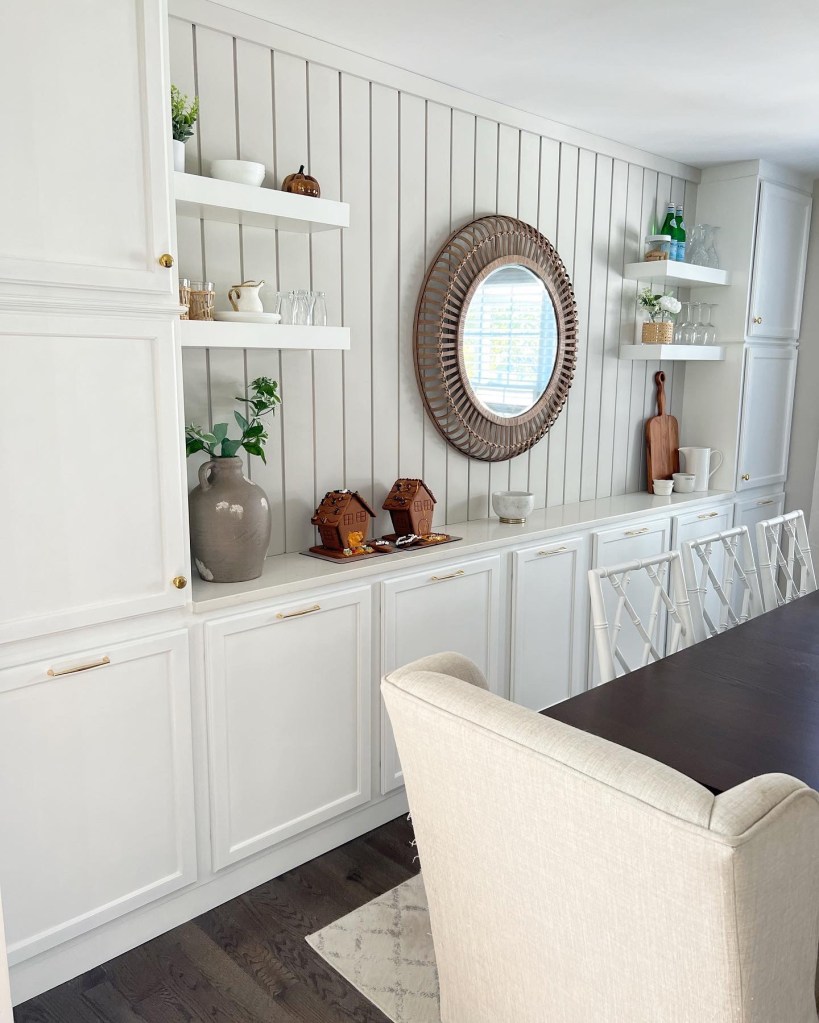
Who isn’t desperate for more storage these days? Well I am extra desperate considering my kitchen is lacking in it. So I went back and forth wondering if my dining room could handle THIS many cabinets. Never did I imagine the end result being sooooo good.
I used ALL upper cabinets so it only takes up 12 inches of space. First I ordered all my uppers straight off home depots website and I think they only charged around $55 to ship. All in my cabinets were $1,100 ish.
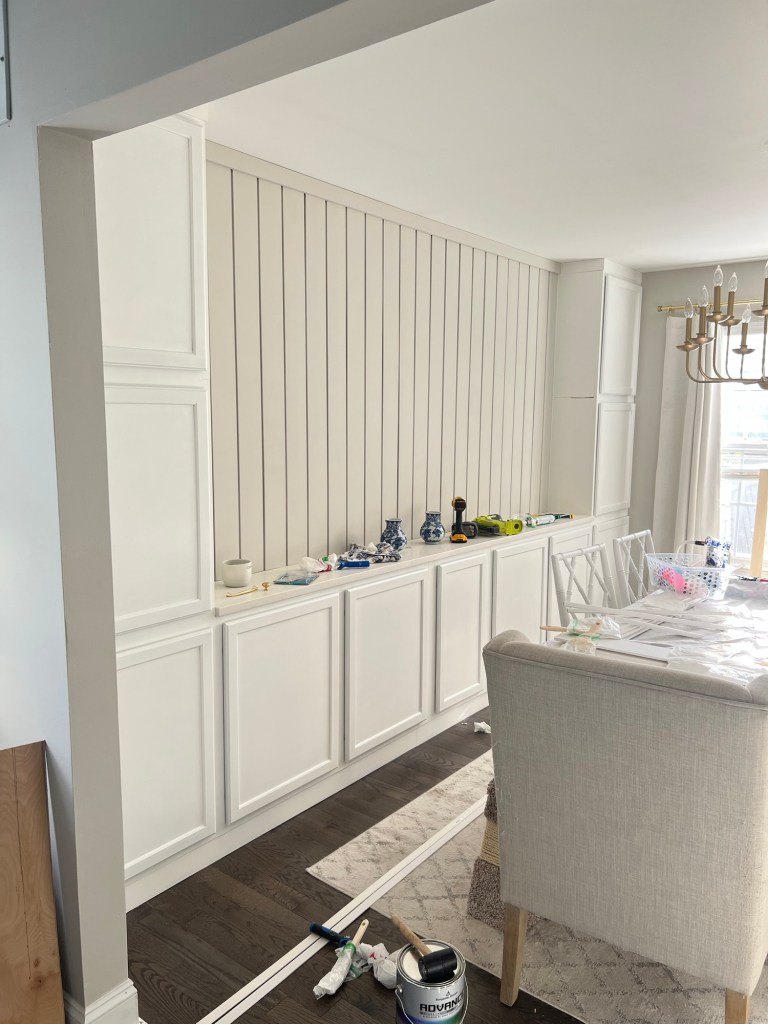
But first here is a before…


First things first…removing the baseboards. This was my first time ever doing this so it probably took me longer than it needed to. I ended up using a multipurpose tool to help get me started and then I was able to get to the corners. I used the multipurpose tool on the back piece because I wouldn’t need it but I did plan on putting the sides back in.

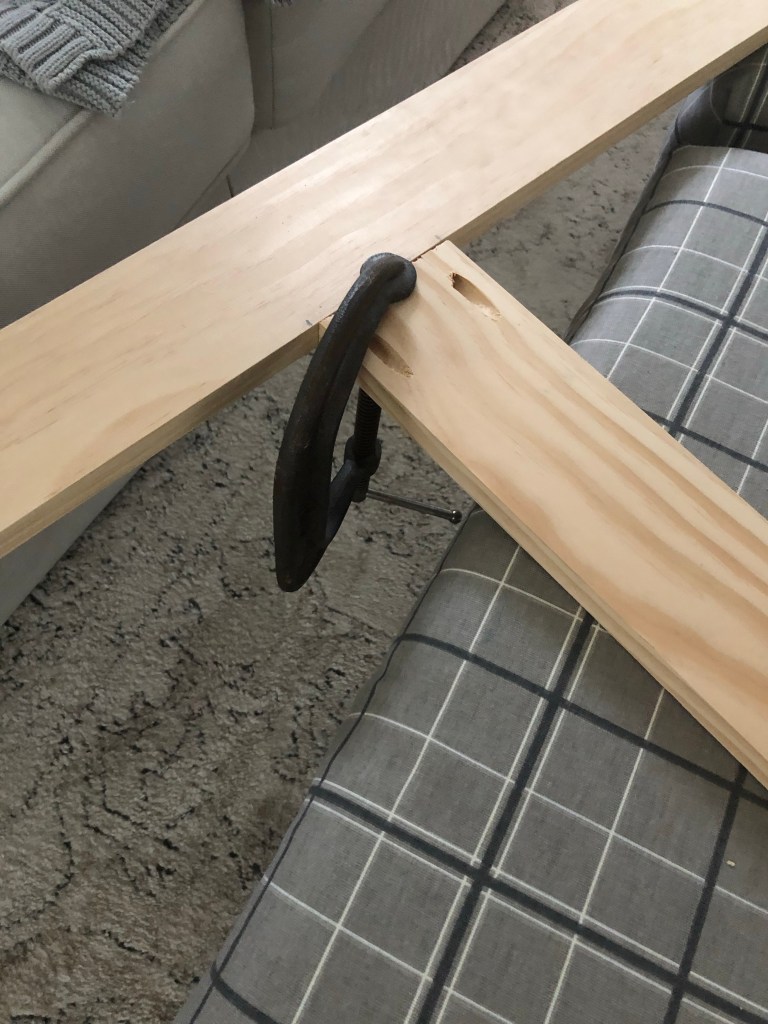
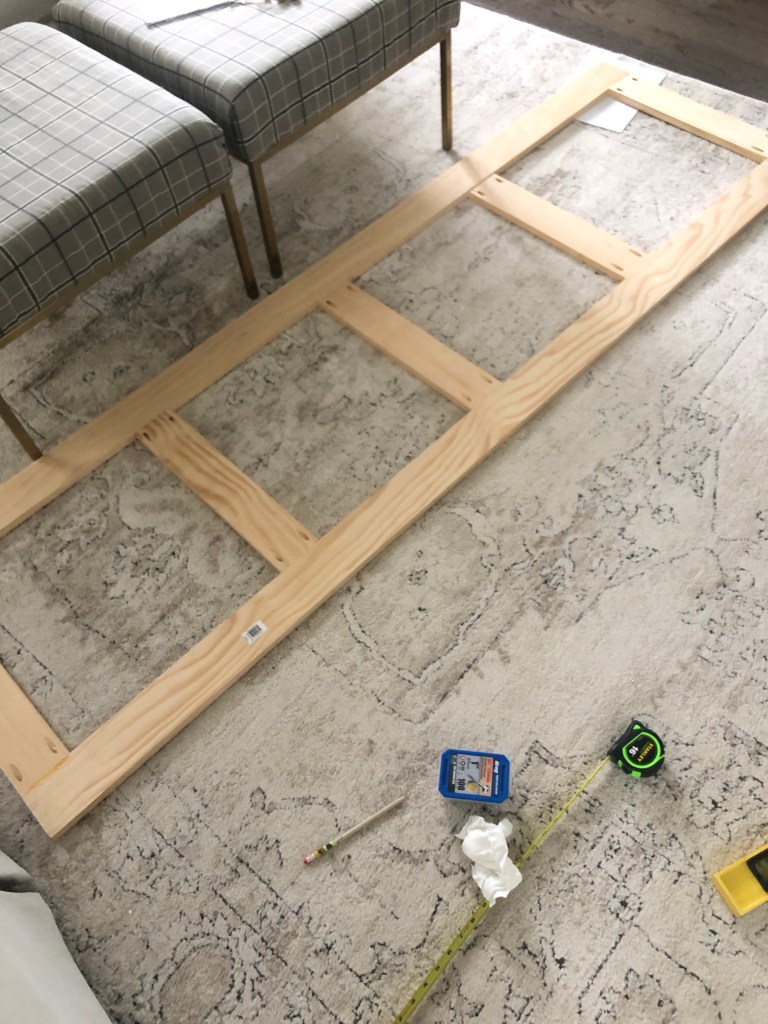
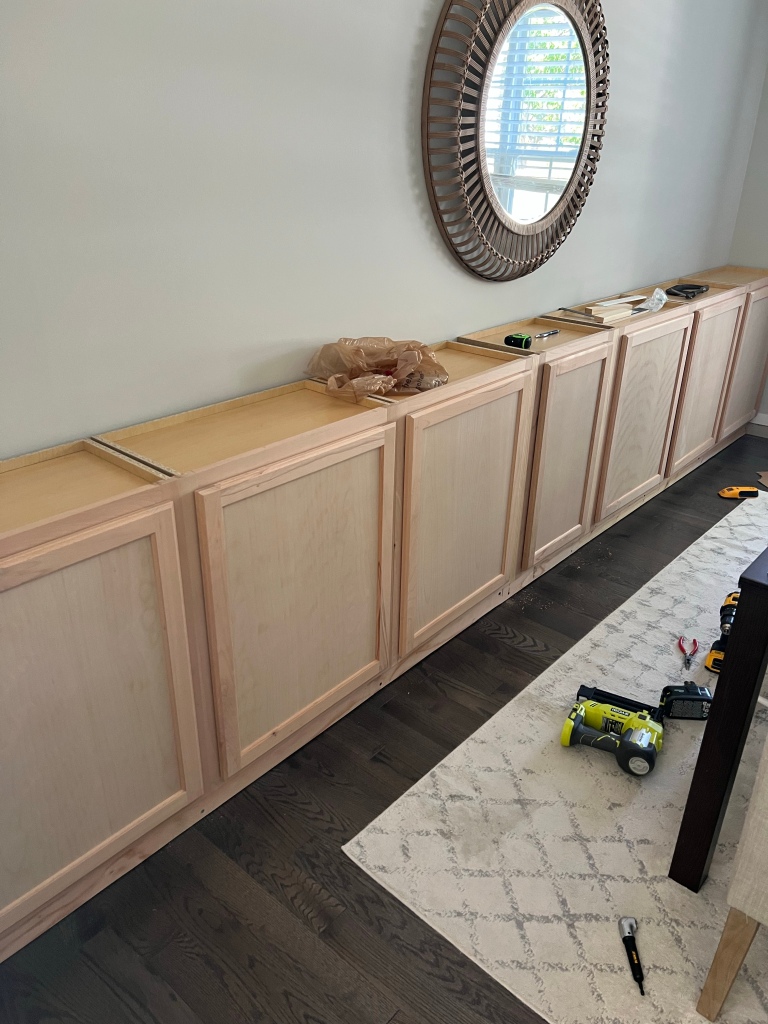
Next I built a base using 2×4’s so the cabinets would look better and be a little off the ground. I basically just built this as long as the wall and around 11 inches in depth so I could have room for toe kick.

See how the cabinet just barely hangs over…this is what you want. Next just make your studs and screw the base into the wall. Making progress yessss
Now it’s time for the cabinets (most exciting part). I laid everything out first and then started at one end and worked my way down. Make sure to secure them to the wall and to the cabinet beside it.


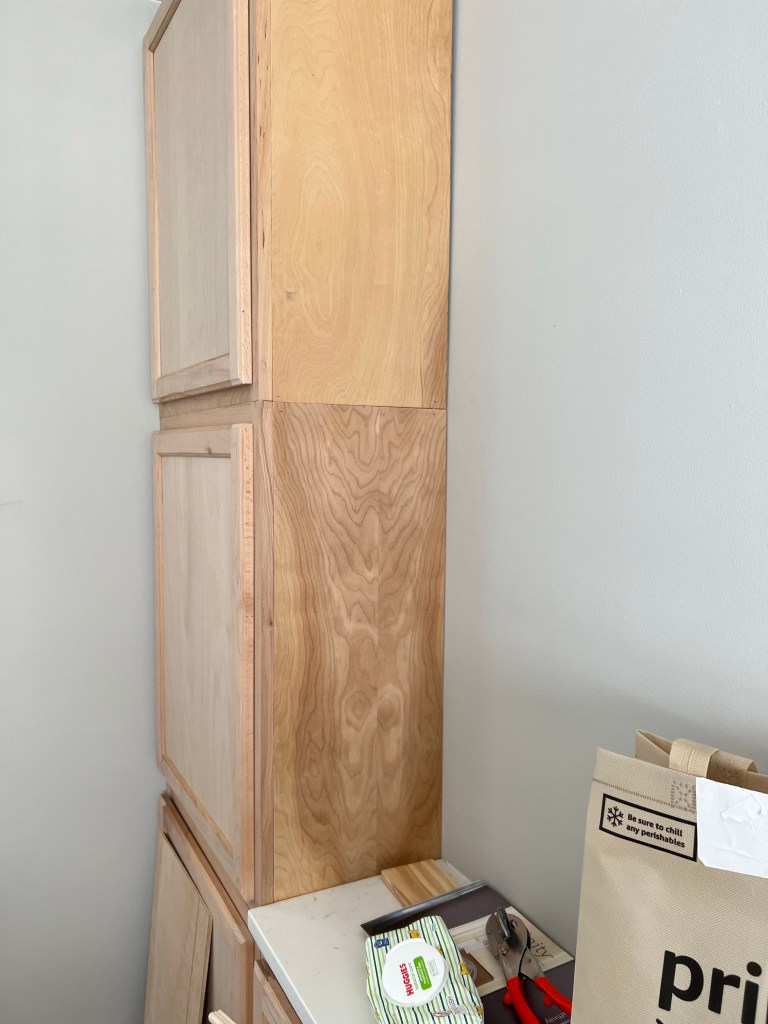
Next I simply stacked the cabinets on top of one another. Made sure to secure to side wall, back wall and secure to each other.

Next up is making the side panels. You can also purchase these from Home Depot. I had extra plywood that would make everything flush so I just used my circular saw to cut it down and then used a quick glue with a caulk gun.
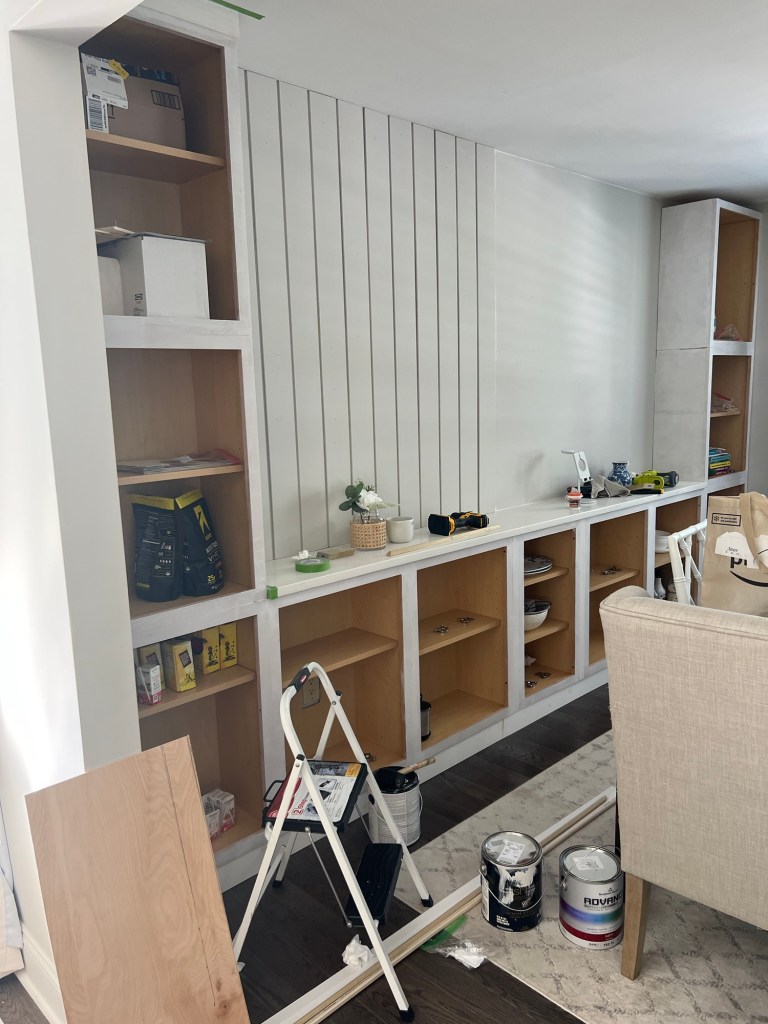
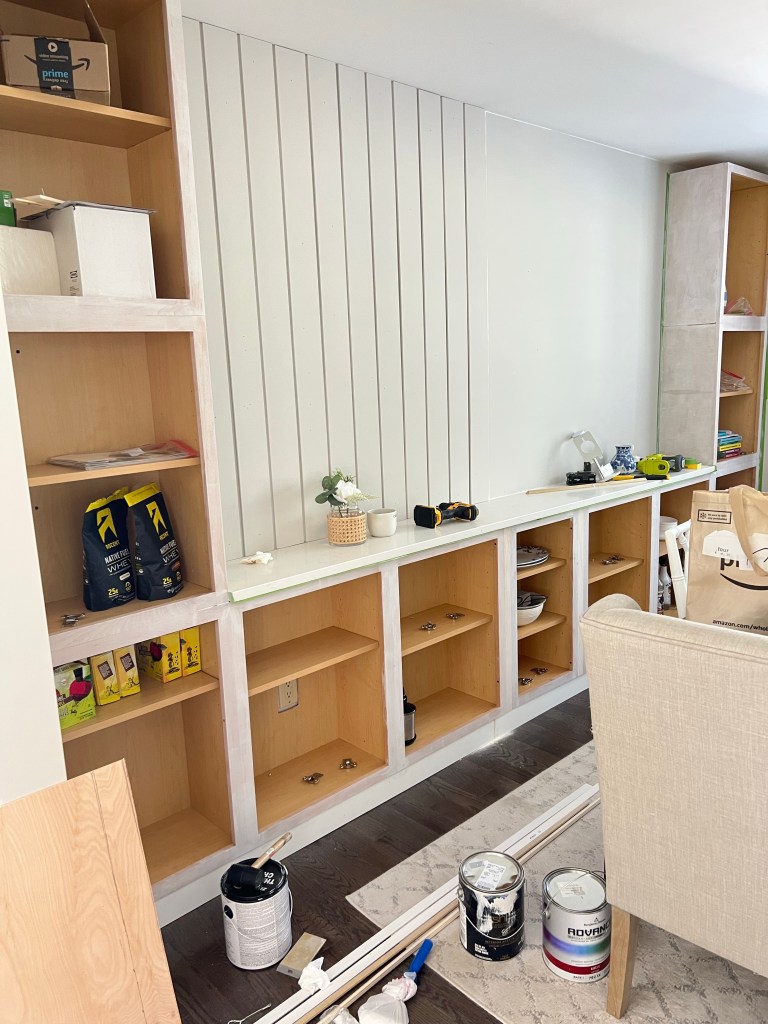
I ended up getting quarts for the countertop but was considering just building one with wood. I went to three different quartz places and just went with cheapest (around $900).

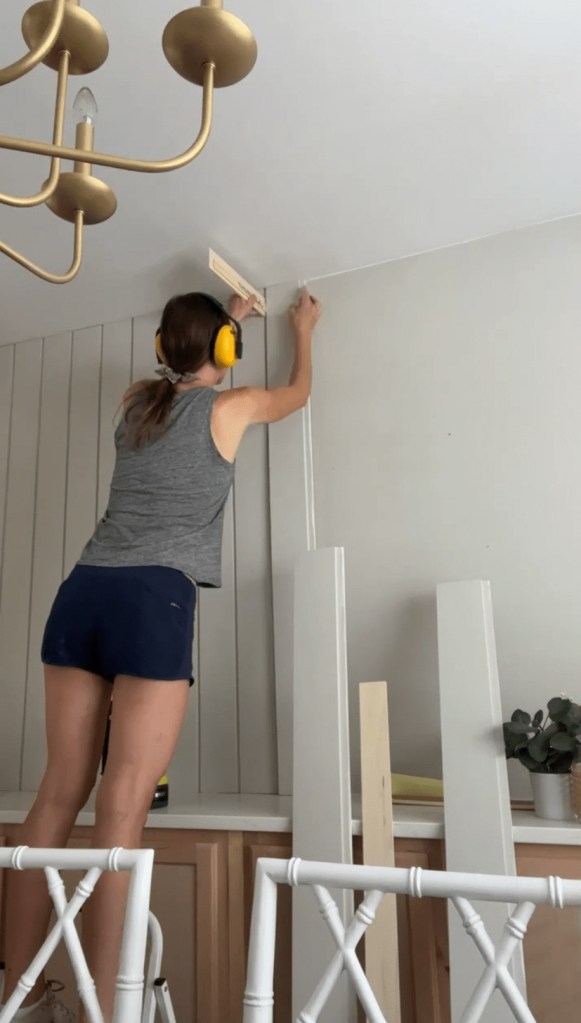
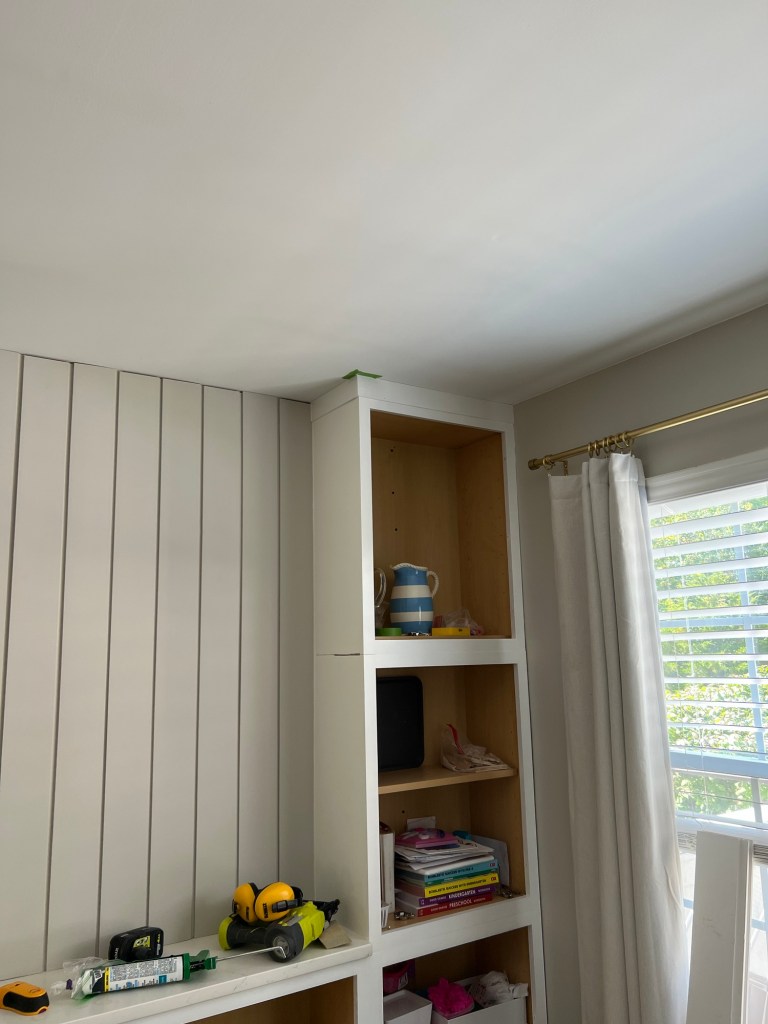
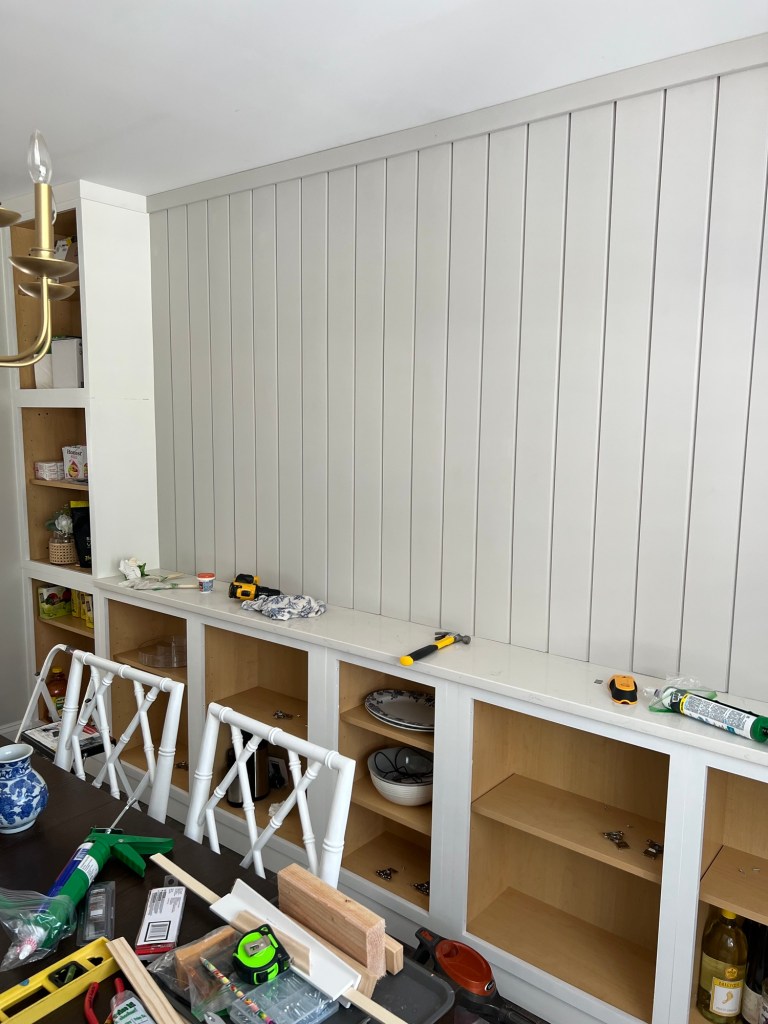
Once all the cabinets are up you can start adding trim and painting (I also waited until.top was on to avoid messing up the paint). If you do shiplap hold off on the trim.
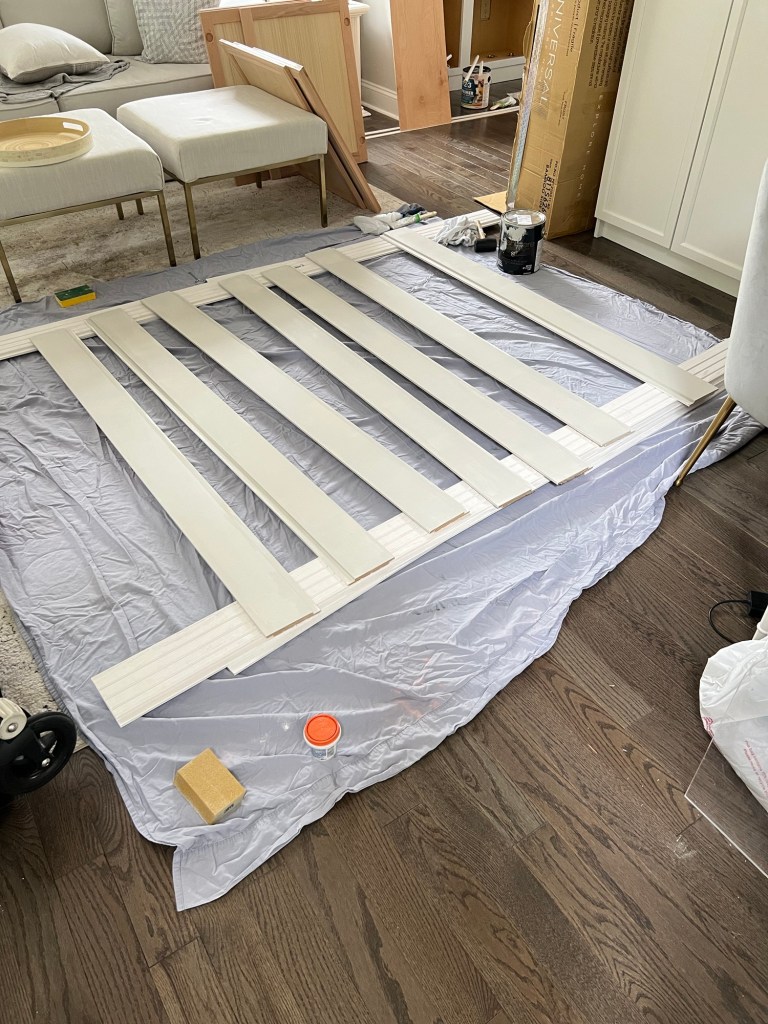
I lightly sanded everything and then used all my goto products. Primer, Benjamin Moore Advance Paint (pure white) and make sure to use a cabinet foam roller. If you have never painted cabinets before check out my blog post on it.


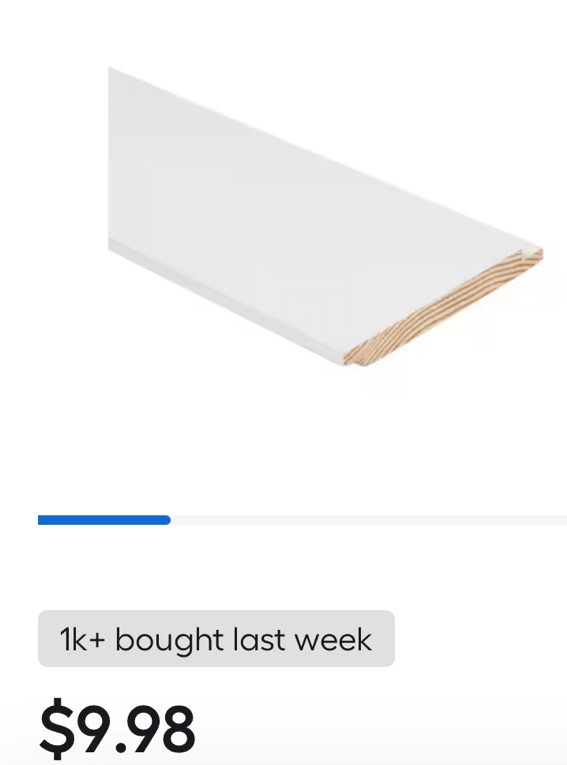
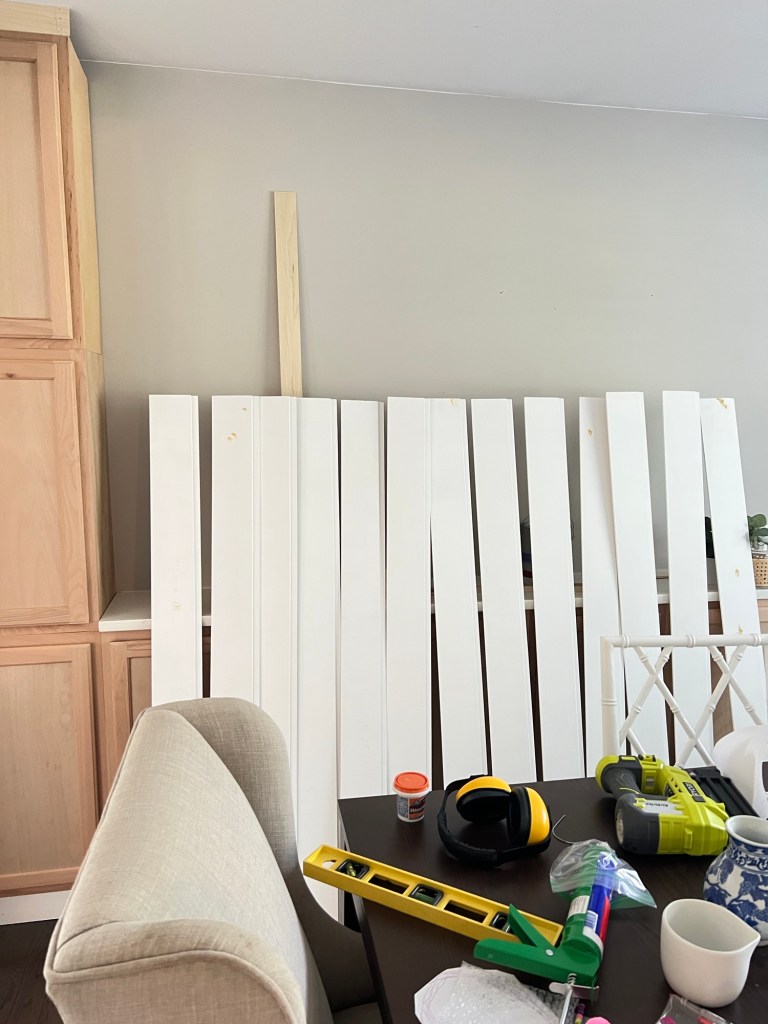
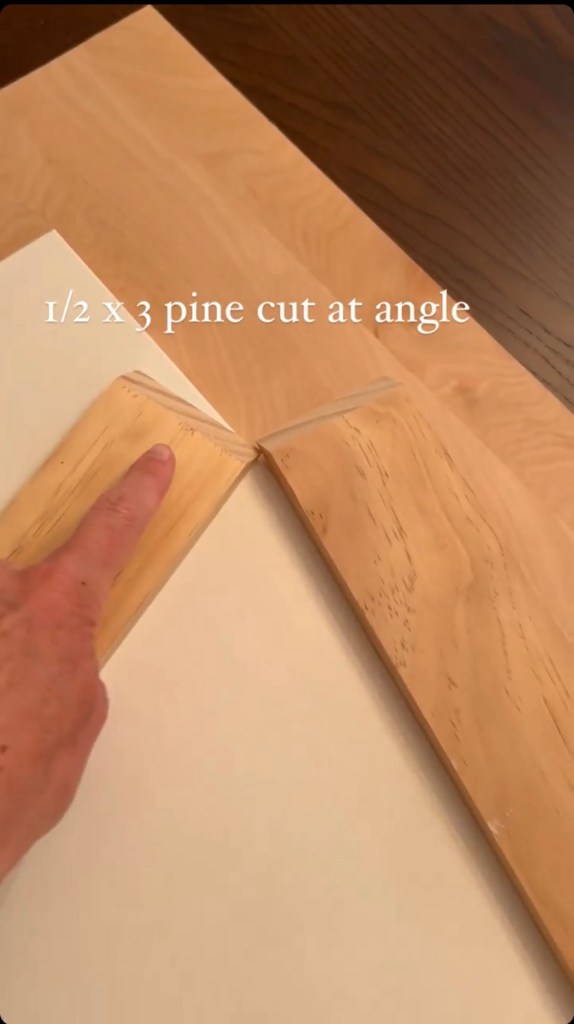
I wanted just a little more trim so I found this shelf edge trim that I love.

All that is left (for now) is to caulk everything!

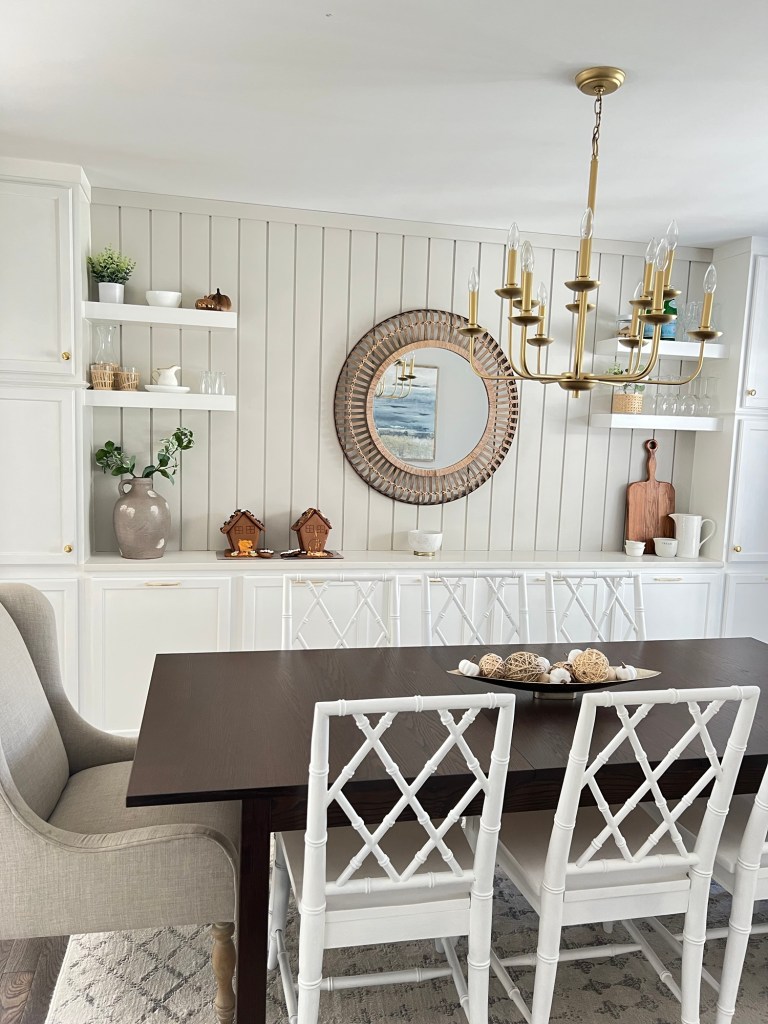
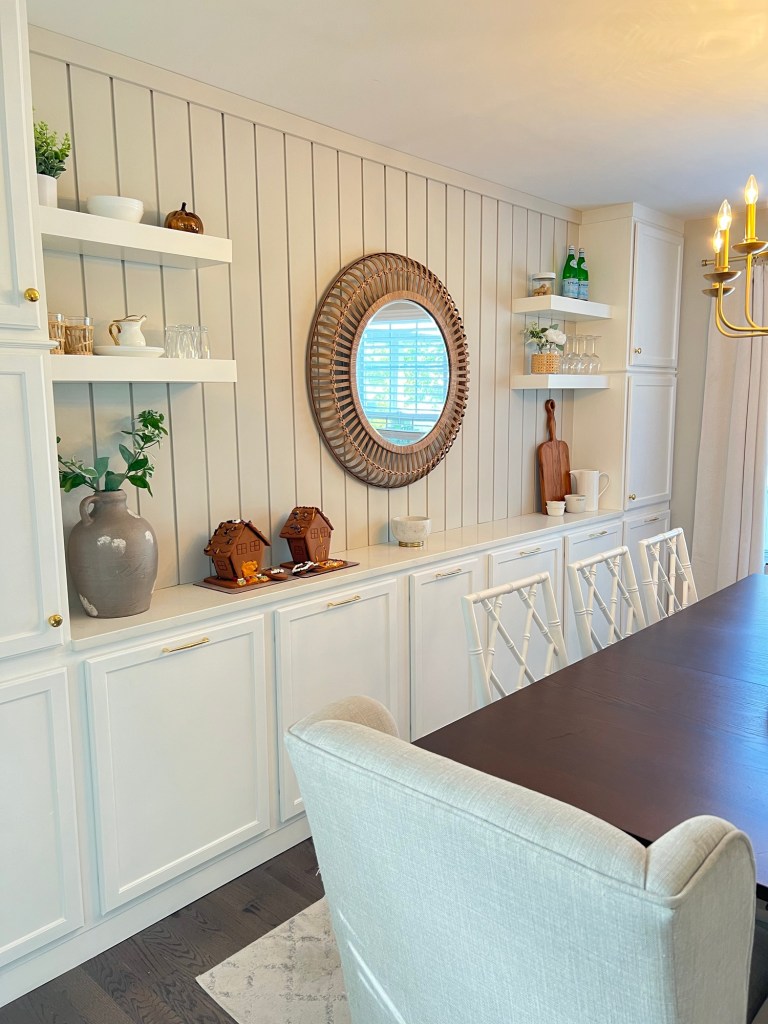
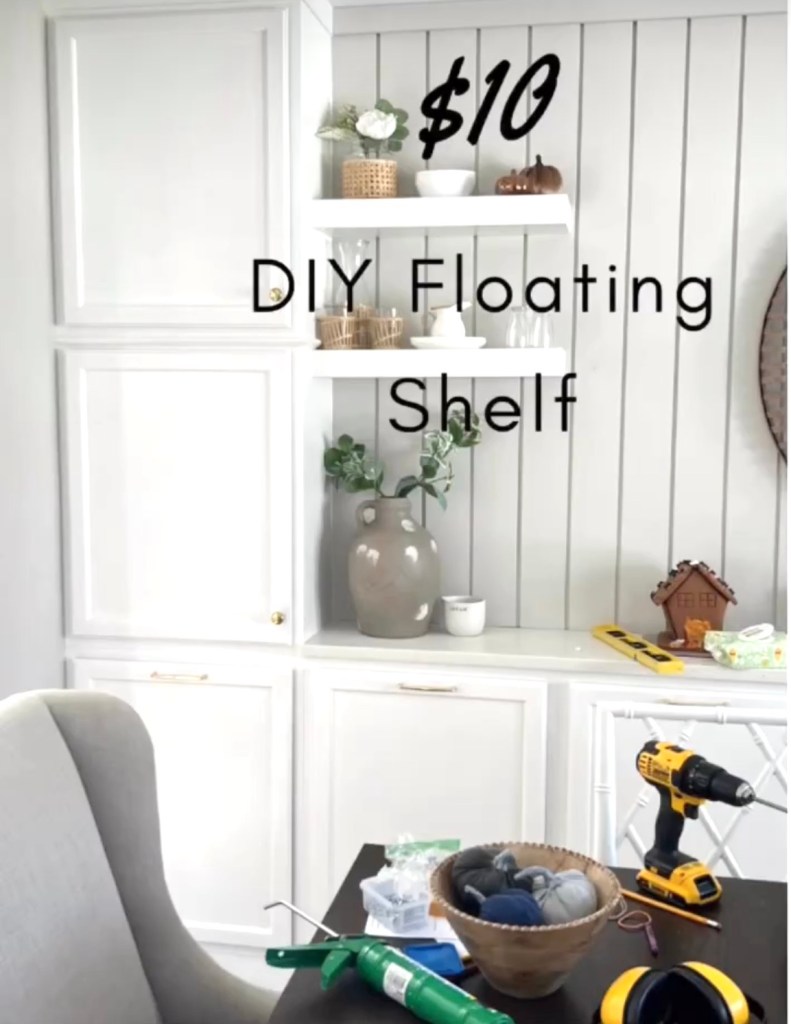
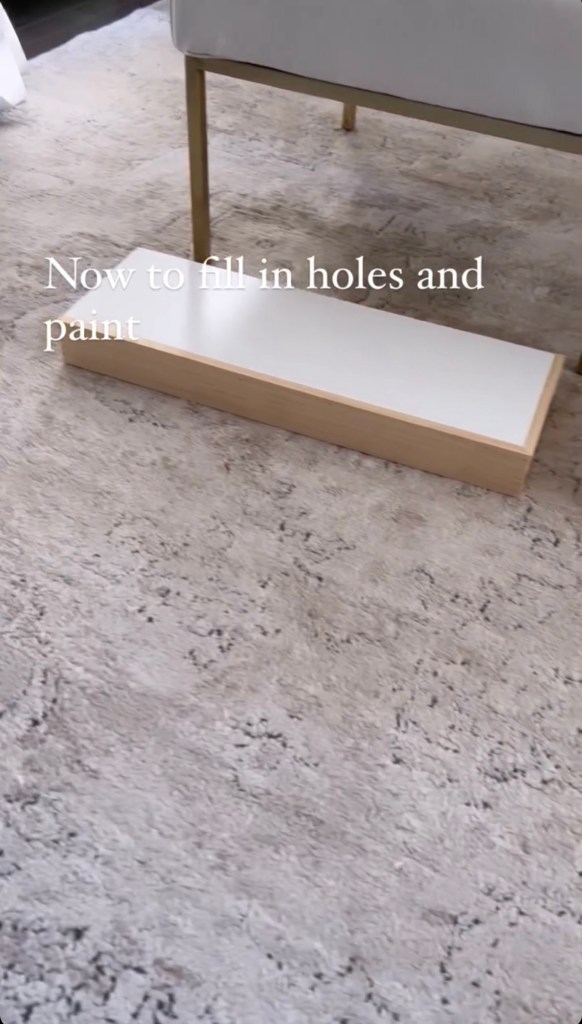
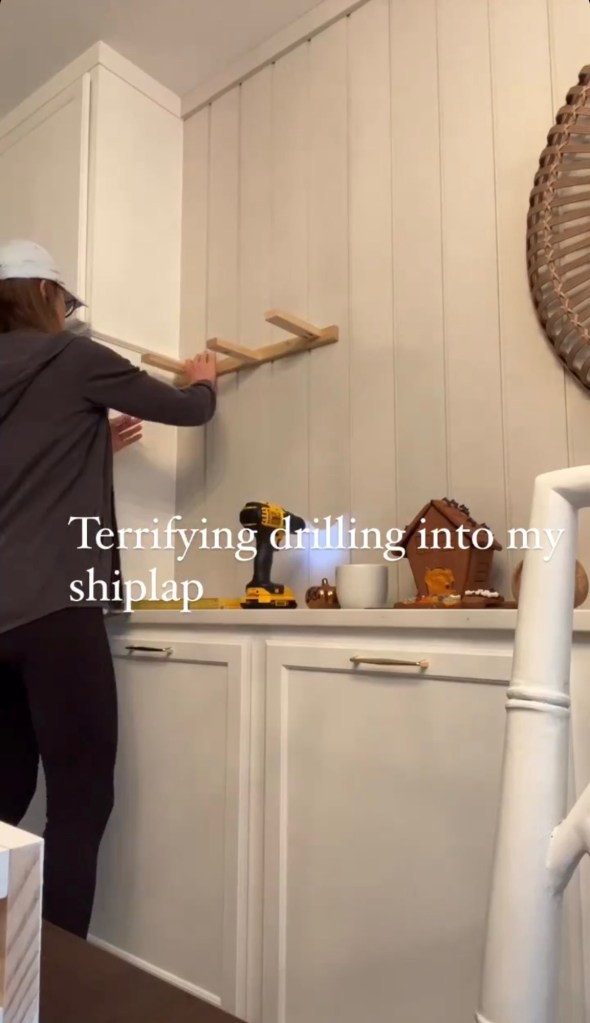
Stay tuned for blog post on how to make floating shelves. Below is the finished product and I couldn’t be happier with the outcome.