if you were thinking of doing shiplap, just do it! It’s soooo easy and here are the steps I did.
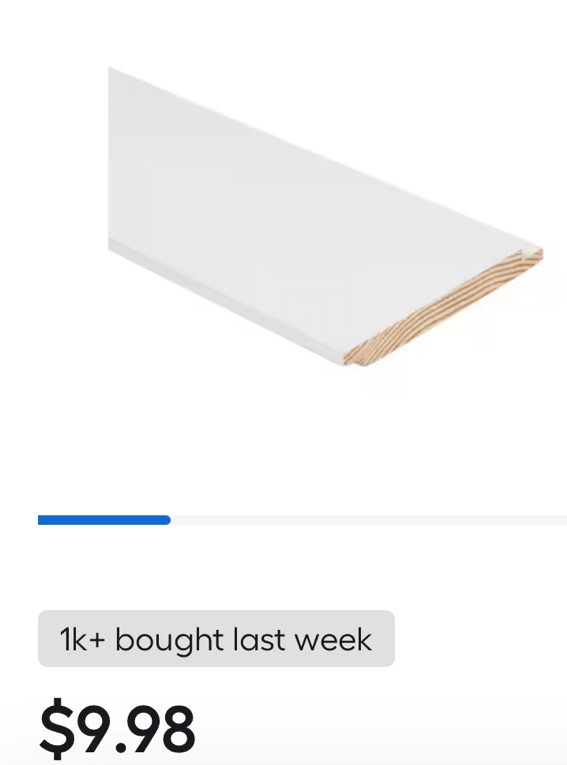
I bought mine at Lowe’s here is the link
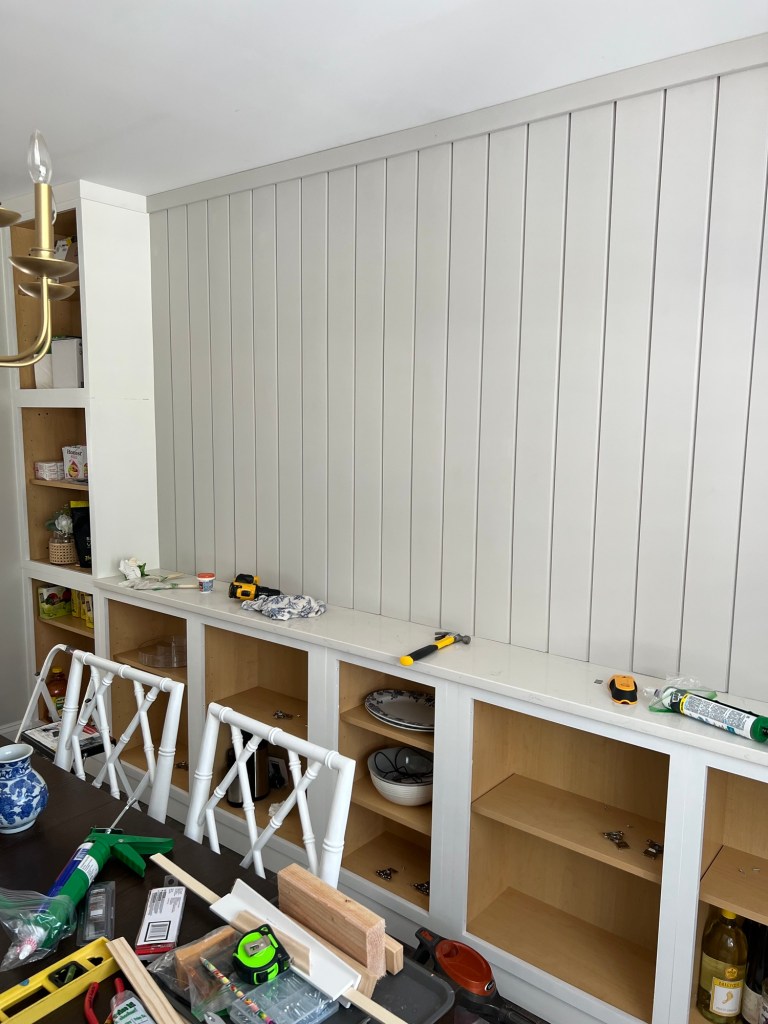
The part that took me the longest to figure out was how far to space them. I measured the wall and then measured the size of the ship lap plus how much space in between I wanted and went from there. Once you get this figured out it’s smooth sailing (obviously the closer you get to the edge you can fudge a little whether they need to be closer or further apart)
I then cut mine to my desired length
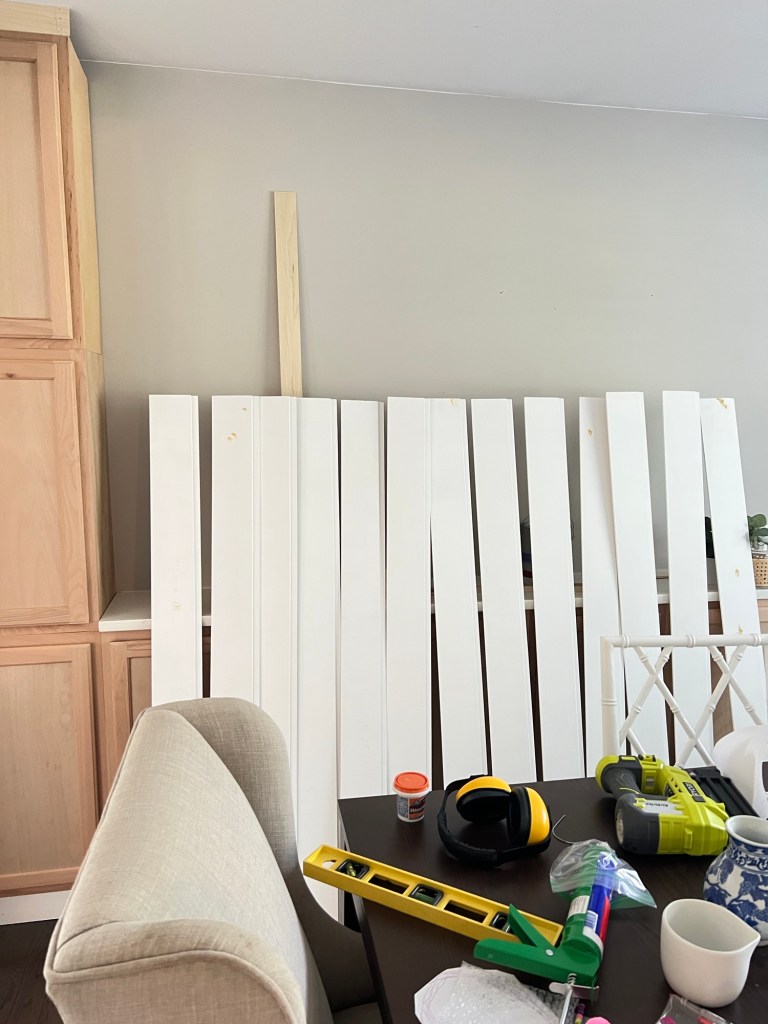
I decided to paint my boards before nailing them to the wall and highly recommend this.
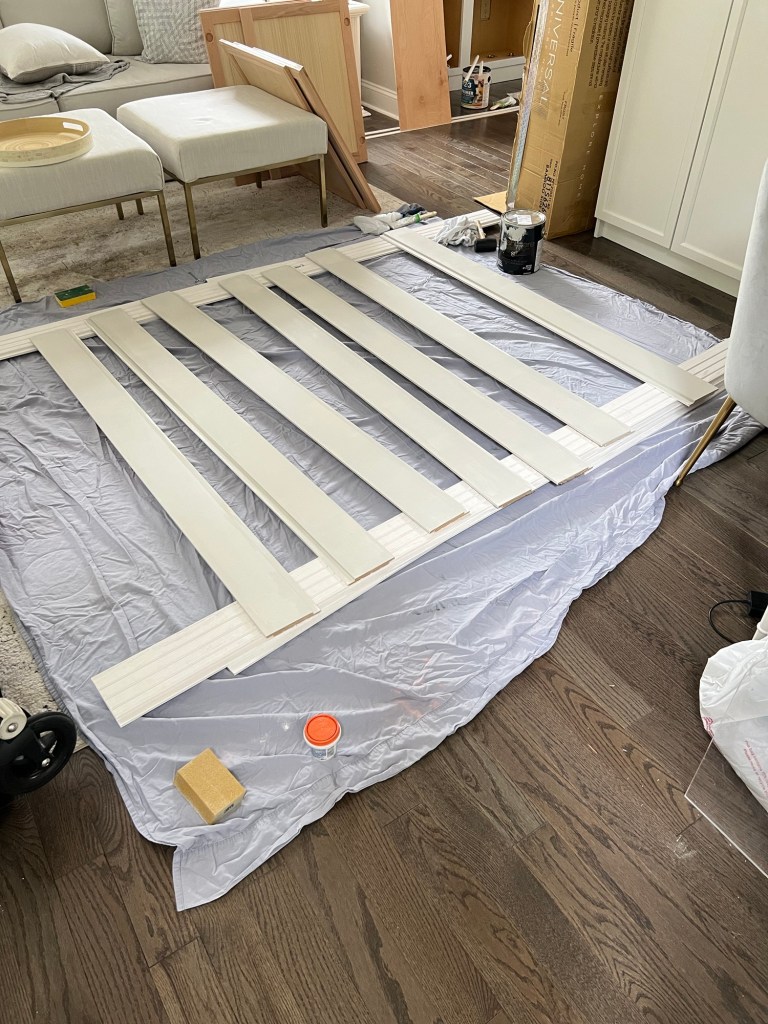
I got lucky and was able to use a paint stick stirrer for my spacing. And then simply used my nail gun to secure them to the wall. I wouldn’t advise gluing because if you ever change your mind about the shiplap you would have to fix the drywall.
At this point you are going to be amazed how easy this is and be contemplating shiplapping your entire house!
Once I got to the end I realized I was going to have to cut the lip off. This ended up being super easy and I used a circular saw.
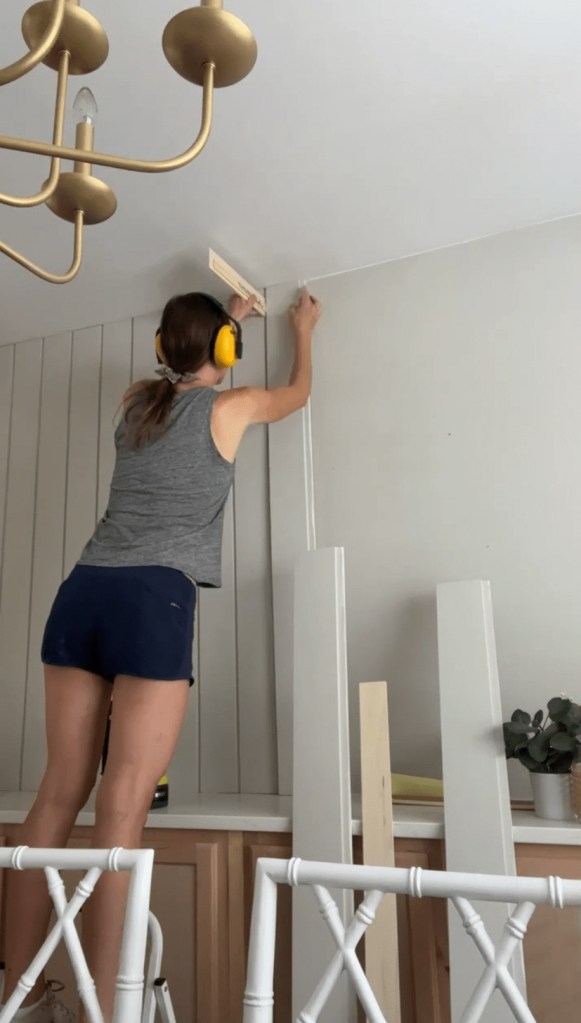
Once I got the shiplap up I decided I wanted a more finished look at the top (uneven ceilings ugh) and added this simple piece of trim.
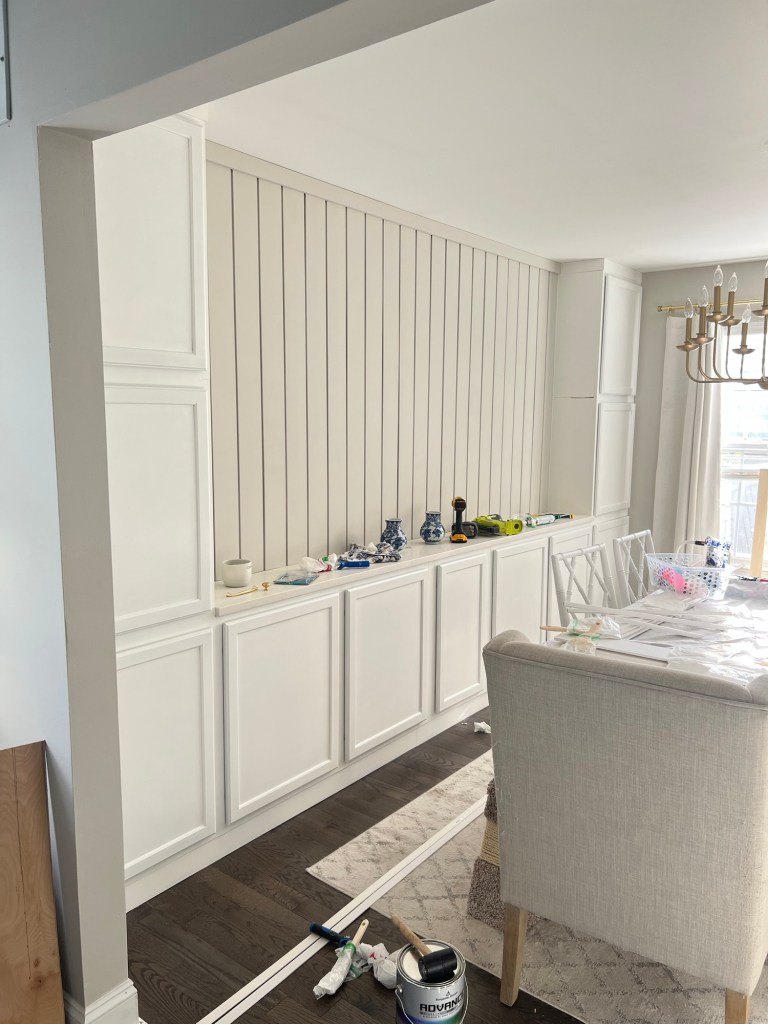
And voilà, we are all finished!!
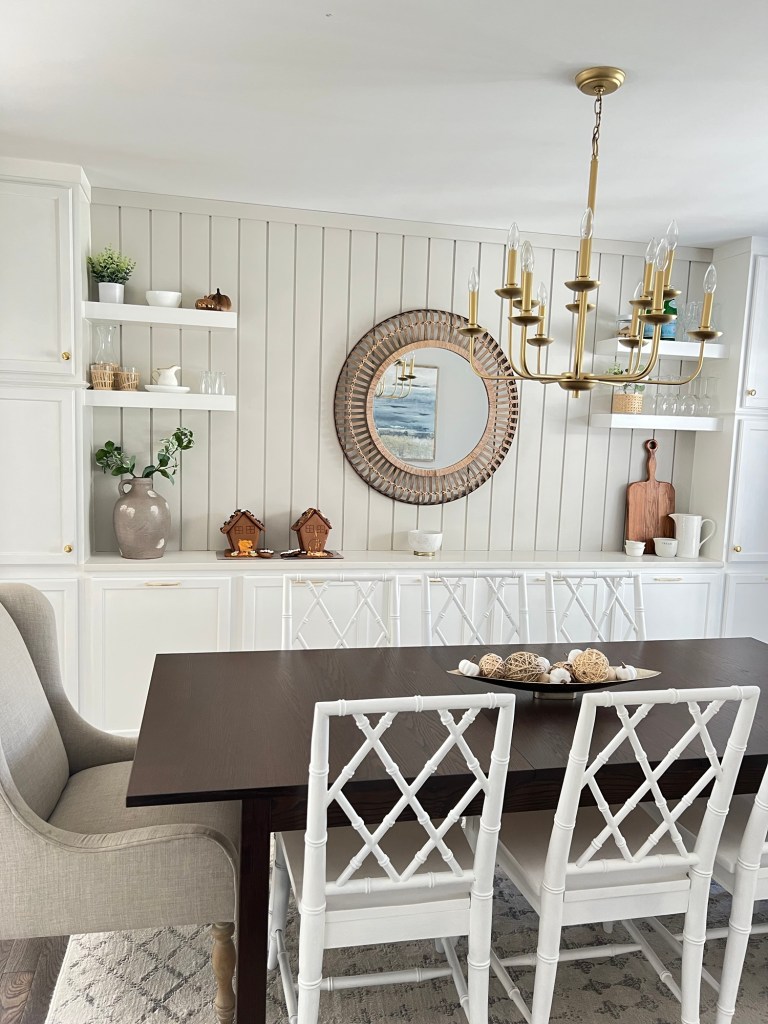
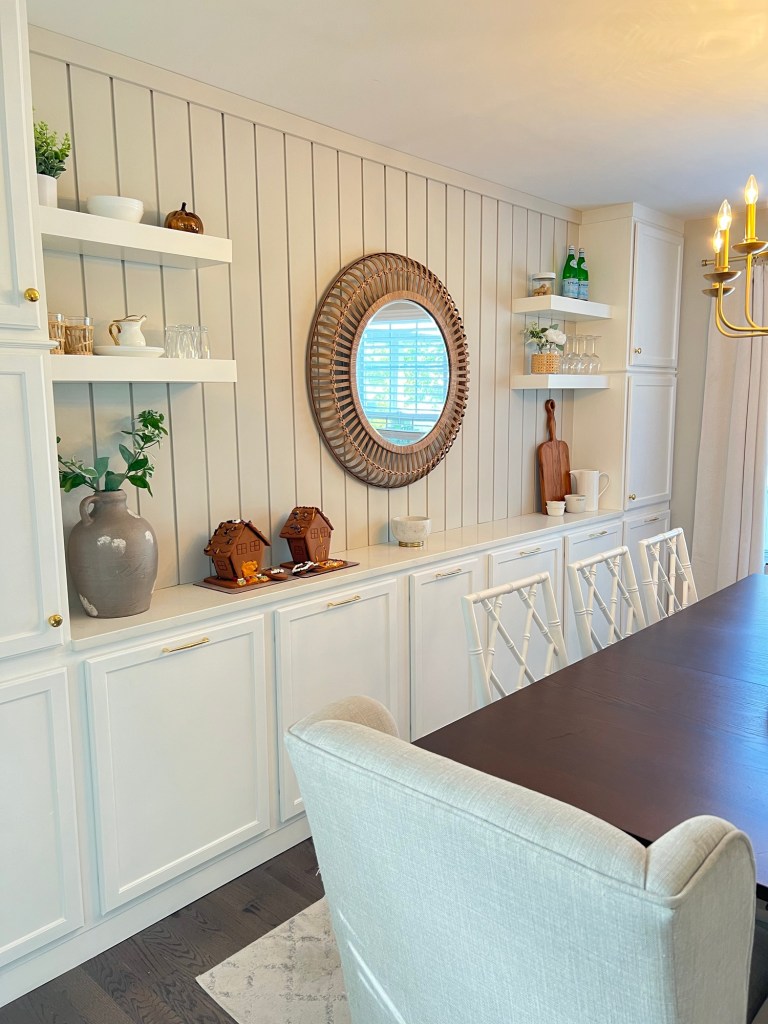
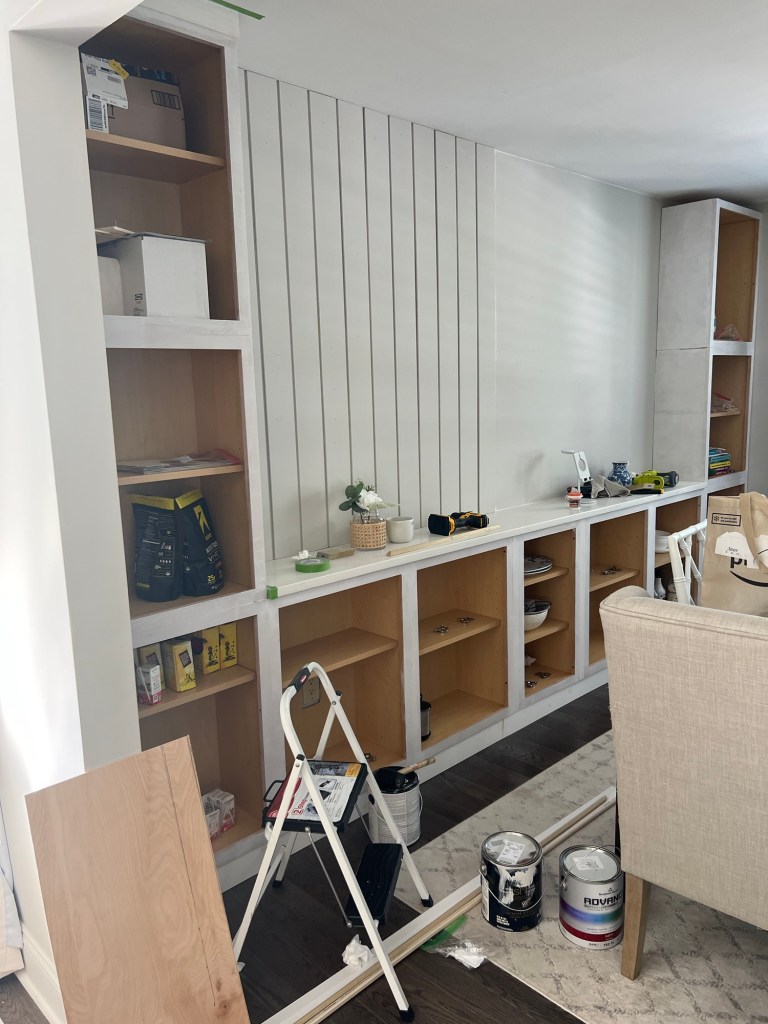
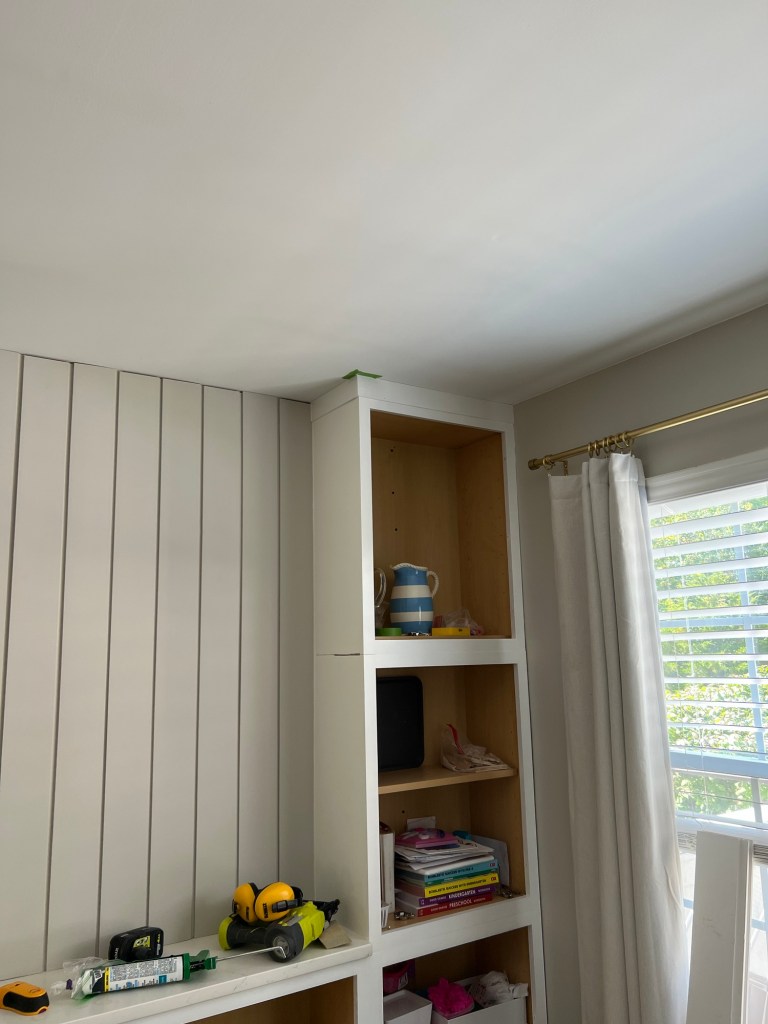
Here are finished pictures of the dining room.
Cabinets pure white by SW and shiplap is agreeable gray by SW
Click here to learn how to add the cabinets
Click here for my easy diy floating shelves