
I never thought we would use this more than we do our deck but we do. I think it is because you can see the kids better but my point is, DO IT! One of the best DIY’s I have ever done. This only took us about two days. I made sure to have everything delivered to make life easier.
Here is what we started with. It made no sense to have this back door open up to nothing and I wanted somewhere to sit and watch the kids while they played.


My space was pretty level and only slightly sloped, so this made things a little easier for me. I still dug it all out and made it level as possible with some extra dirt.
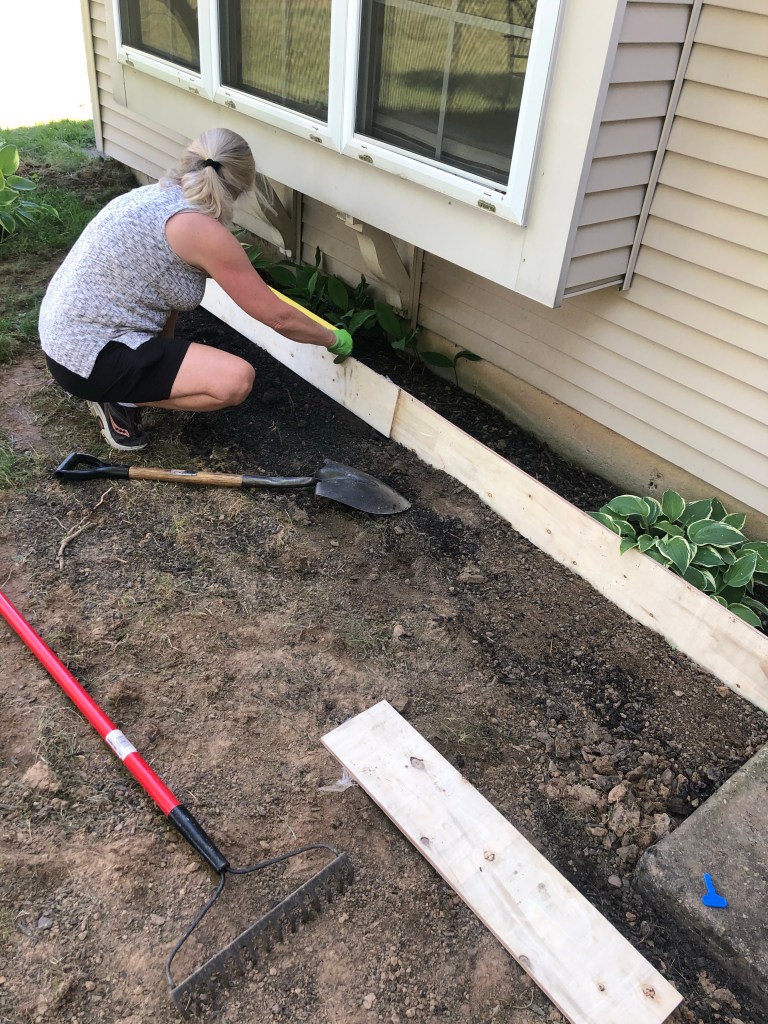
Shout out to my mom for helping 😀 my digging was looking a little like gopher holes.
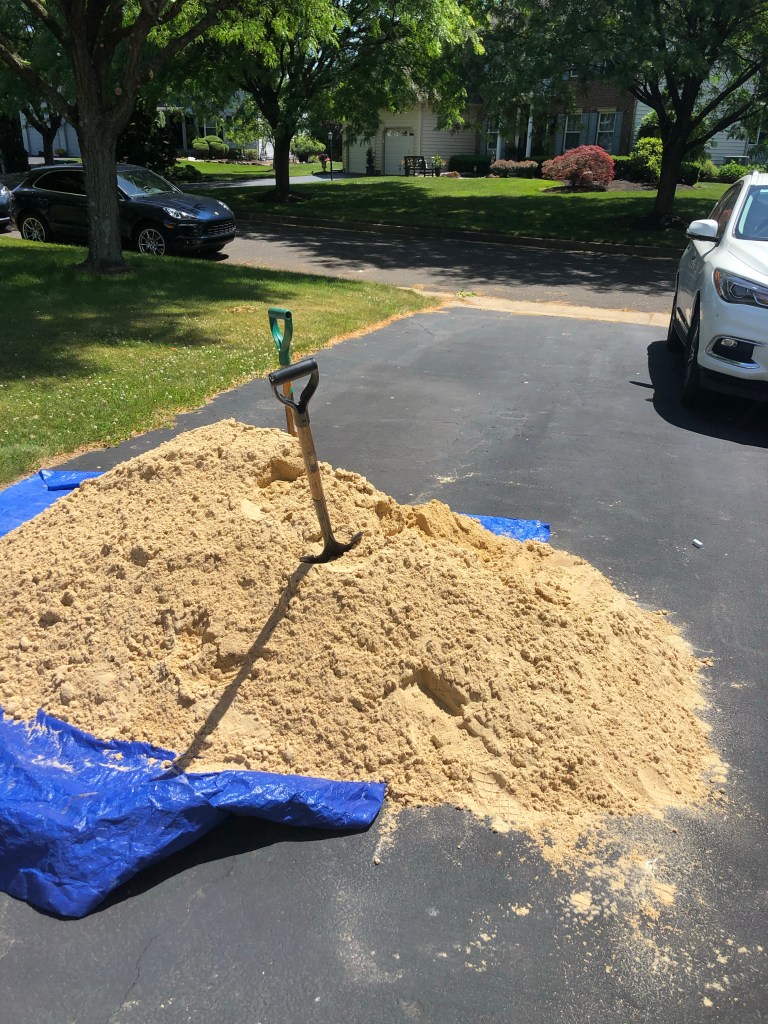
I called a local nursery for sand delivery because it was MUCH cheaper than Home Depot and lowes.
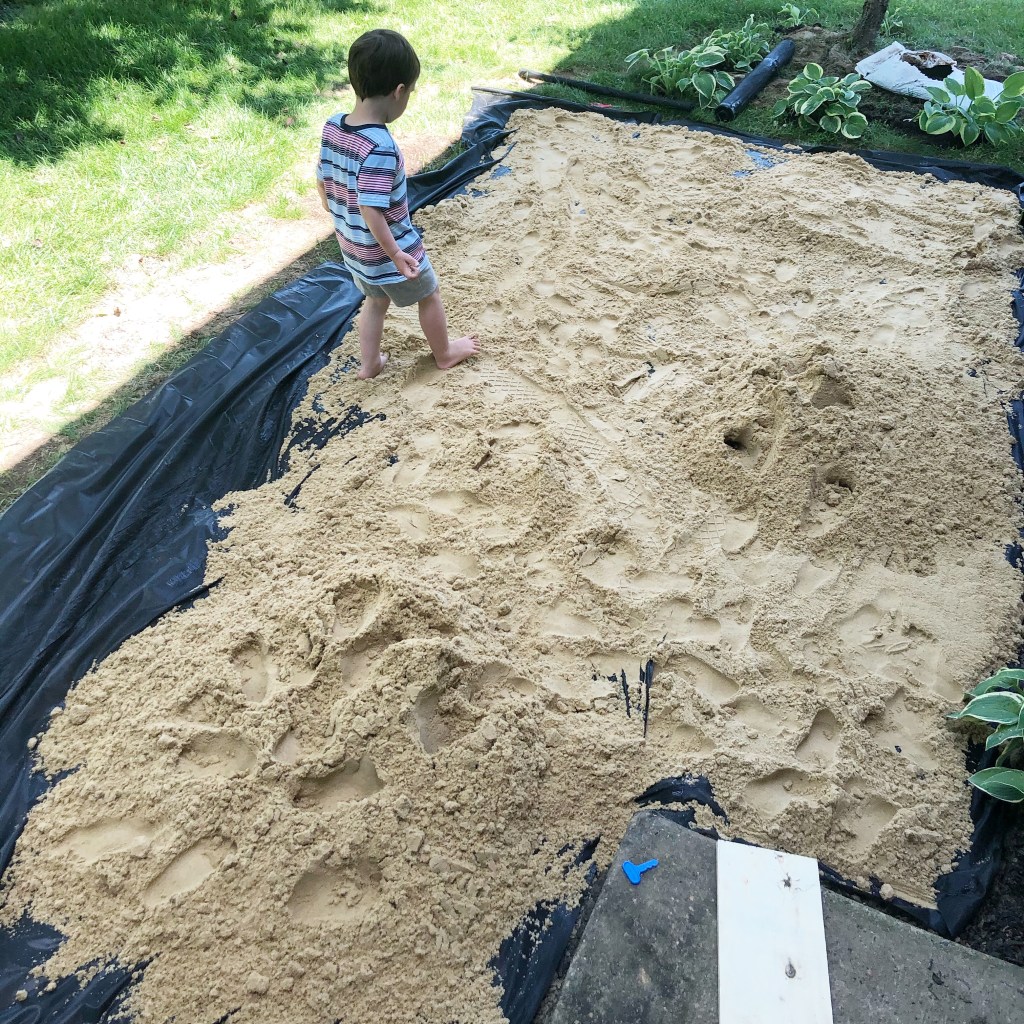

We used a board and level and did our best!
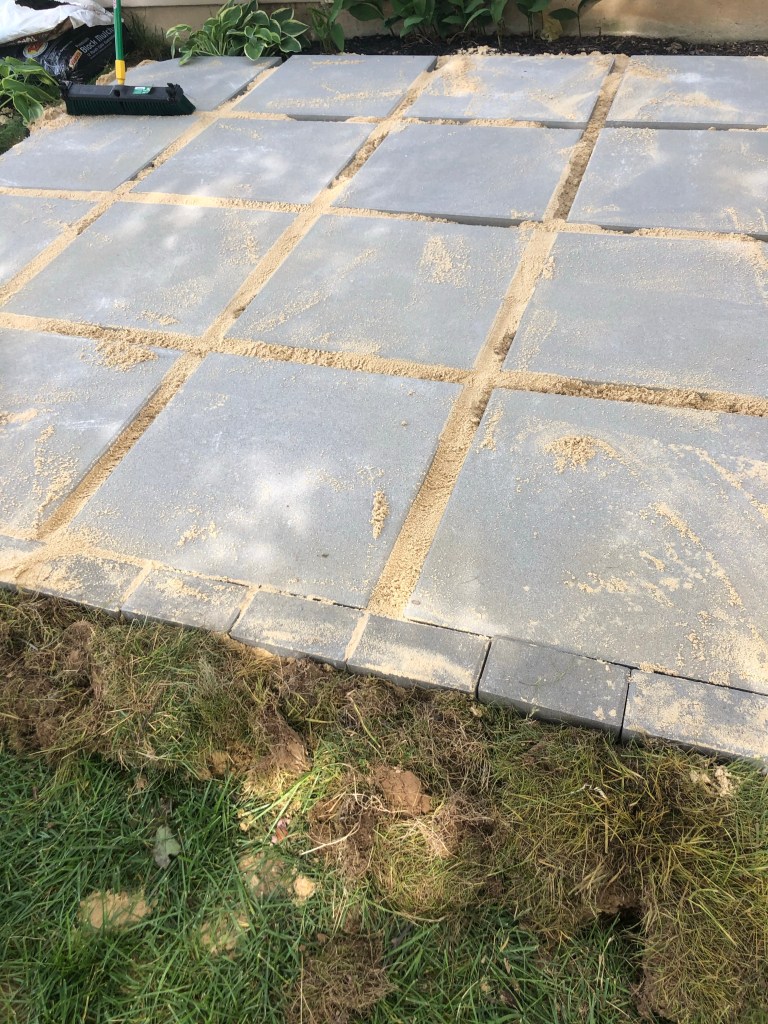
Next it was time to lay the paver down. We used a sponge as a spacing helper 🙃 These were very heavy and I did have my husband help us lay these down. Once he laid them down we were able to move them around some/shove more sand under if needed.

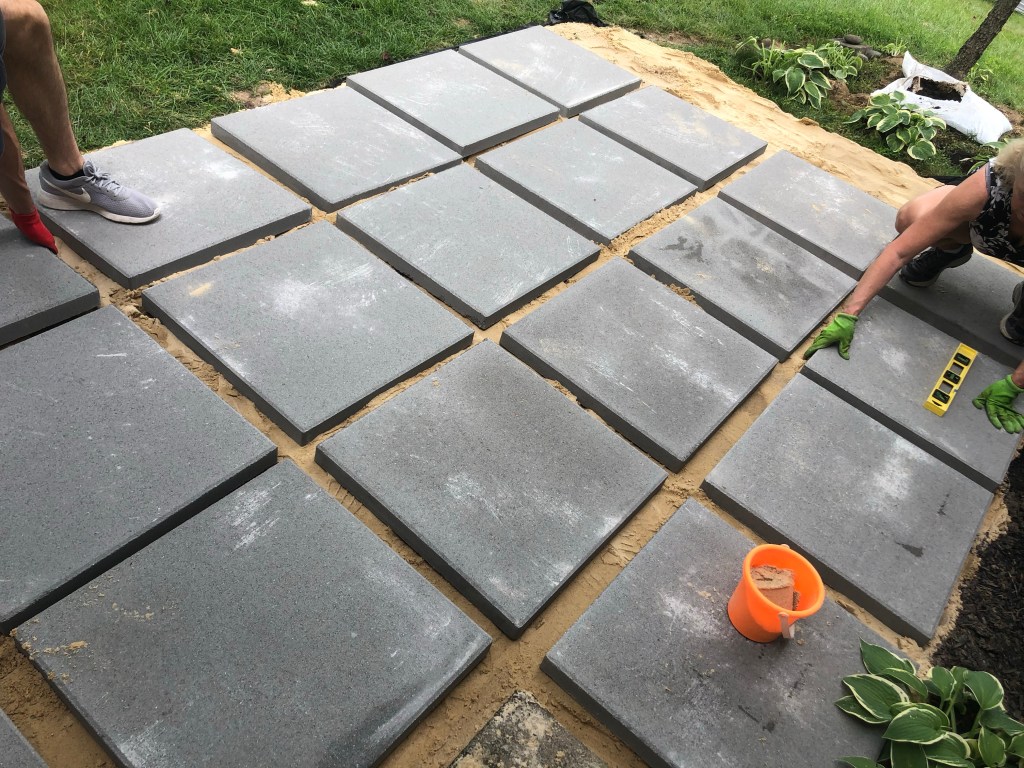
Here are the pavers I used.
I also used smaller pavers as a boarder.
Now it’s time for the pebbles.
This was easy and I keep a bag handy for touch ups.

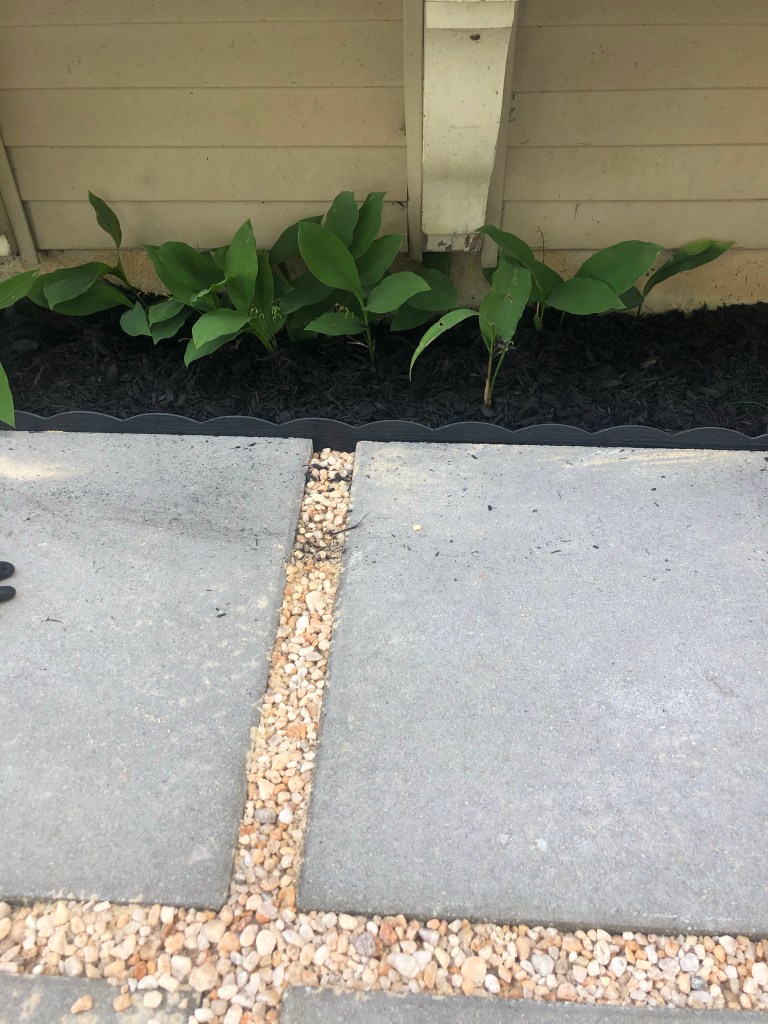
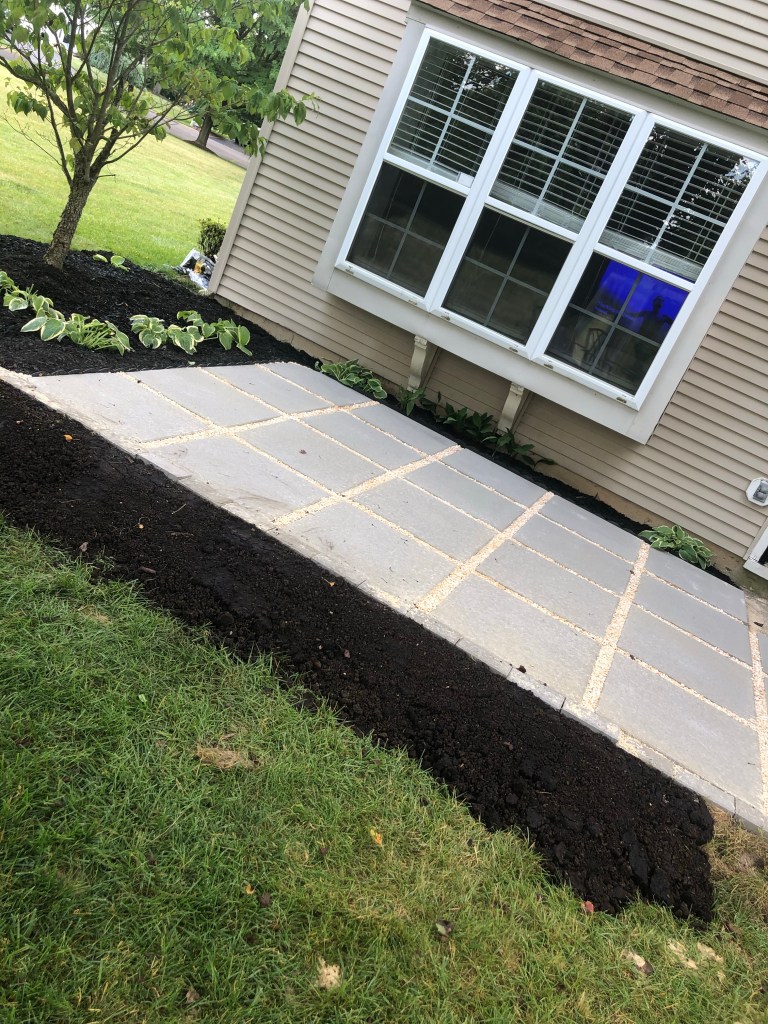
I added a cute little boarder to go around the landscaping.

It’s starting to look so good!
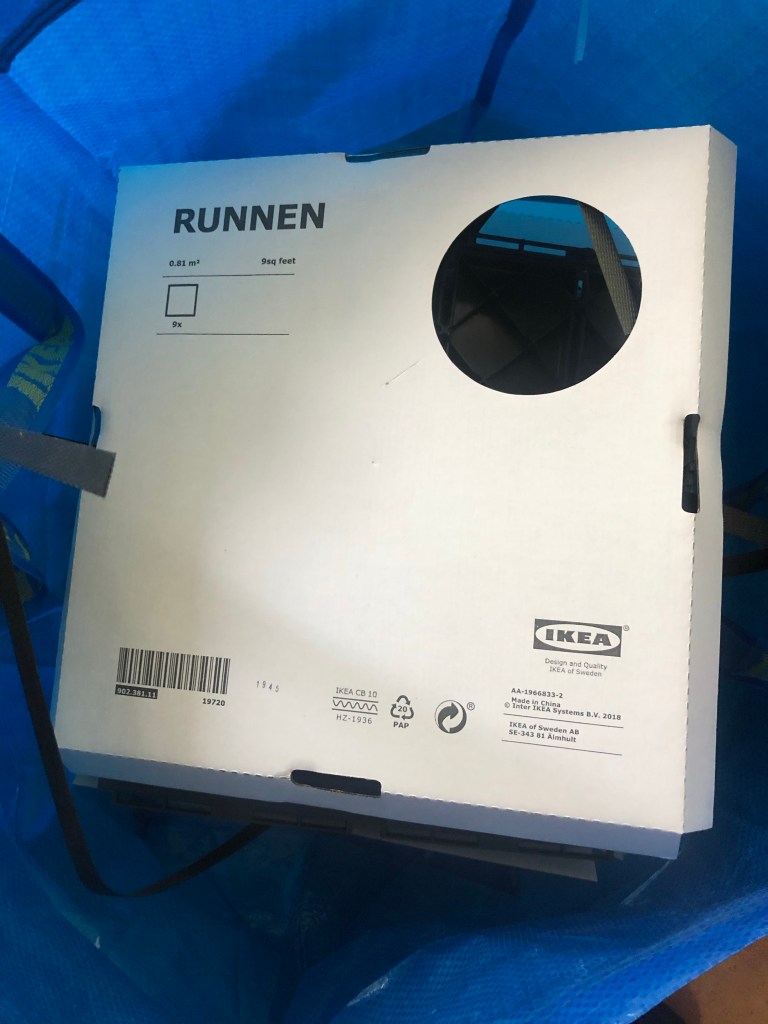
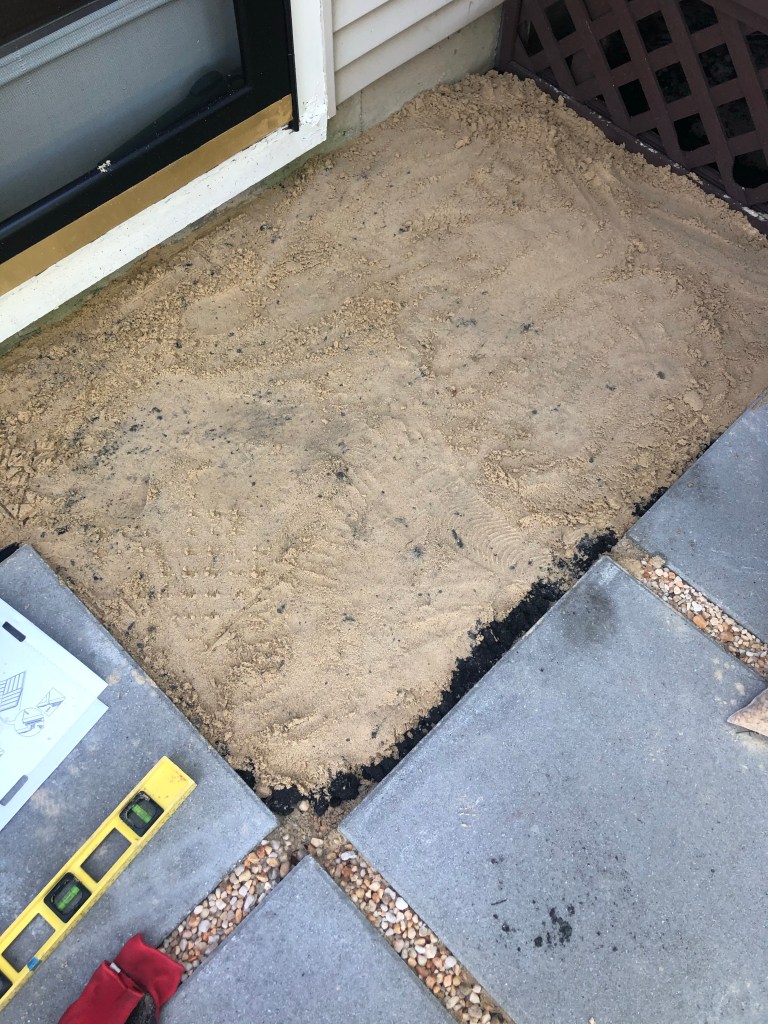
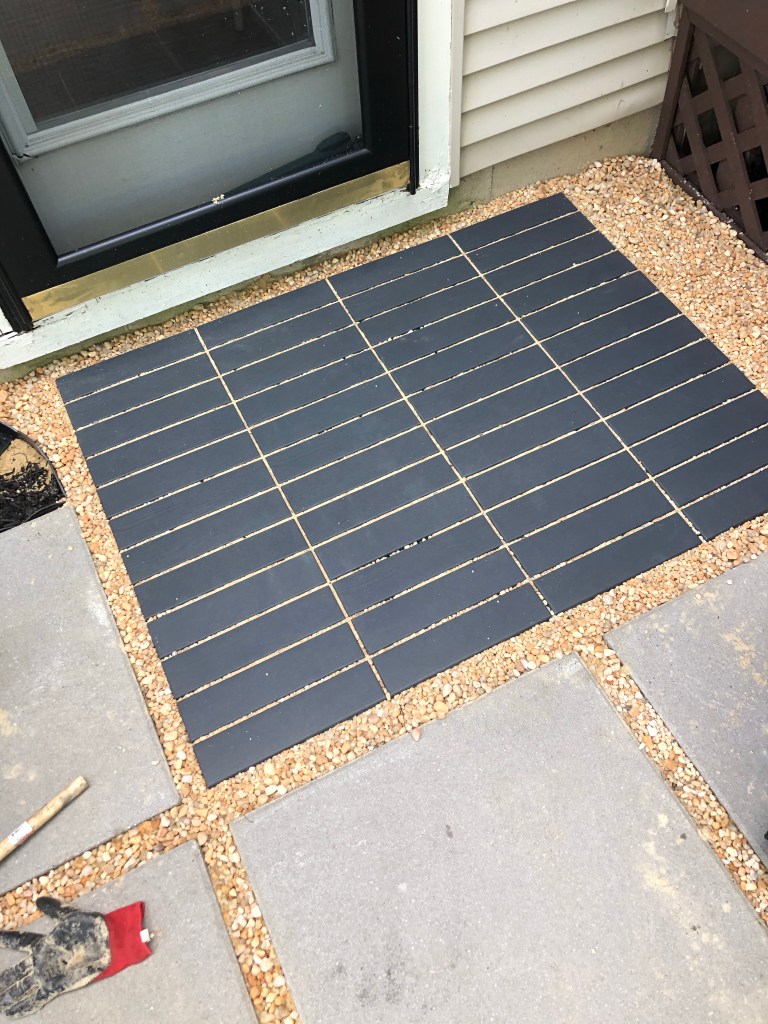
I had one problem with where the old step was so my solution was to add some deck tiles.
I added some dirt and sand to make it all level.
Added more pebbles and we are good to go!
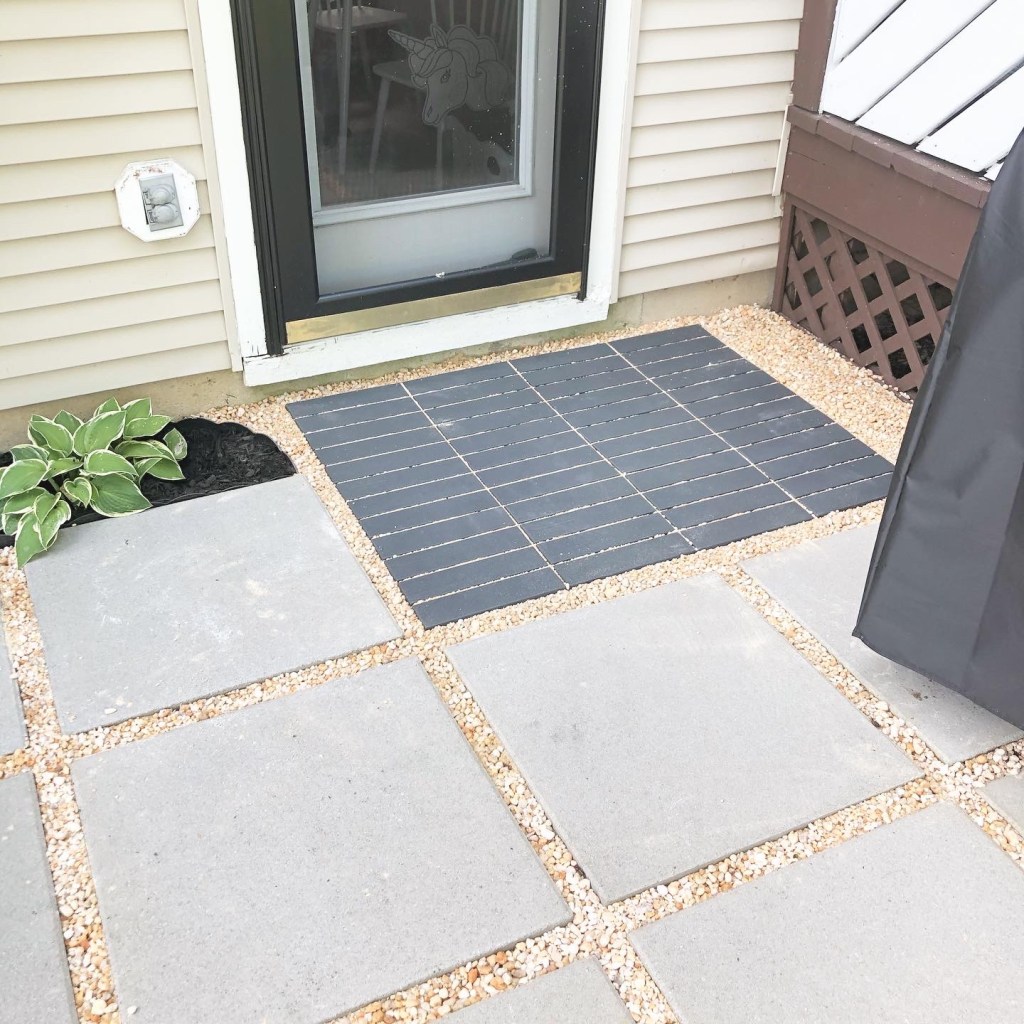
Planted grass and am obsessed how it turned out.
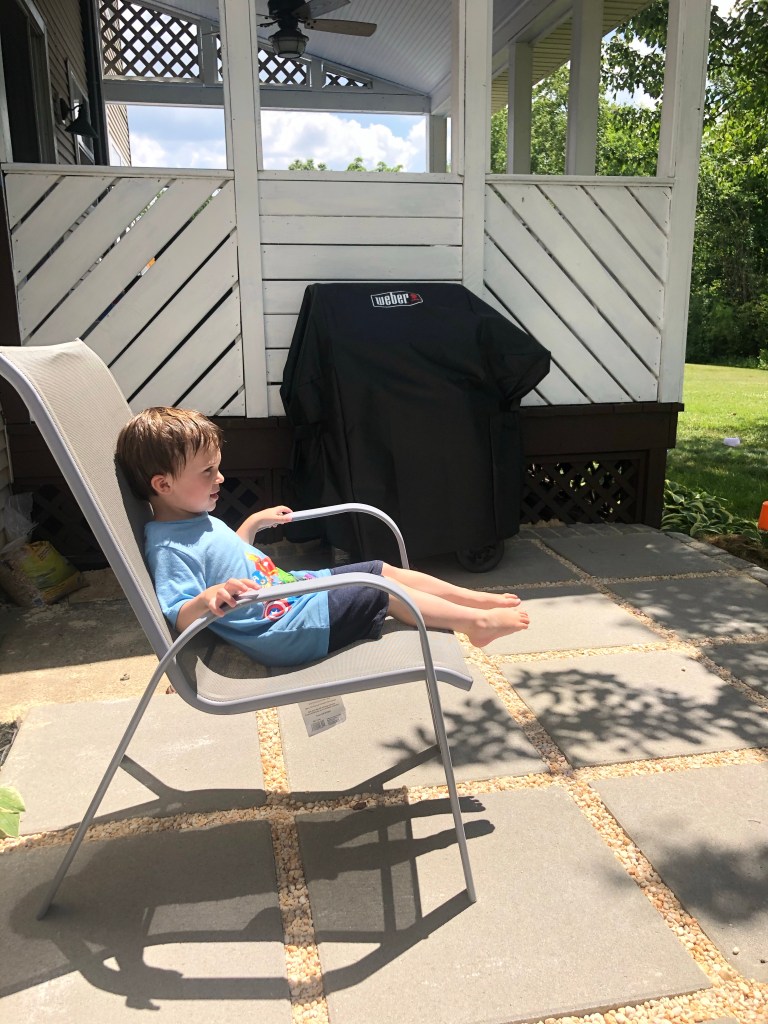
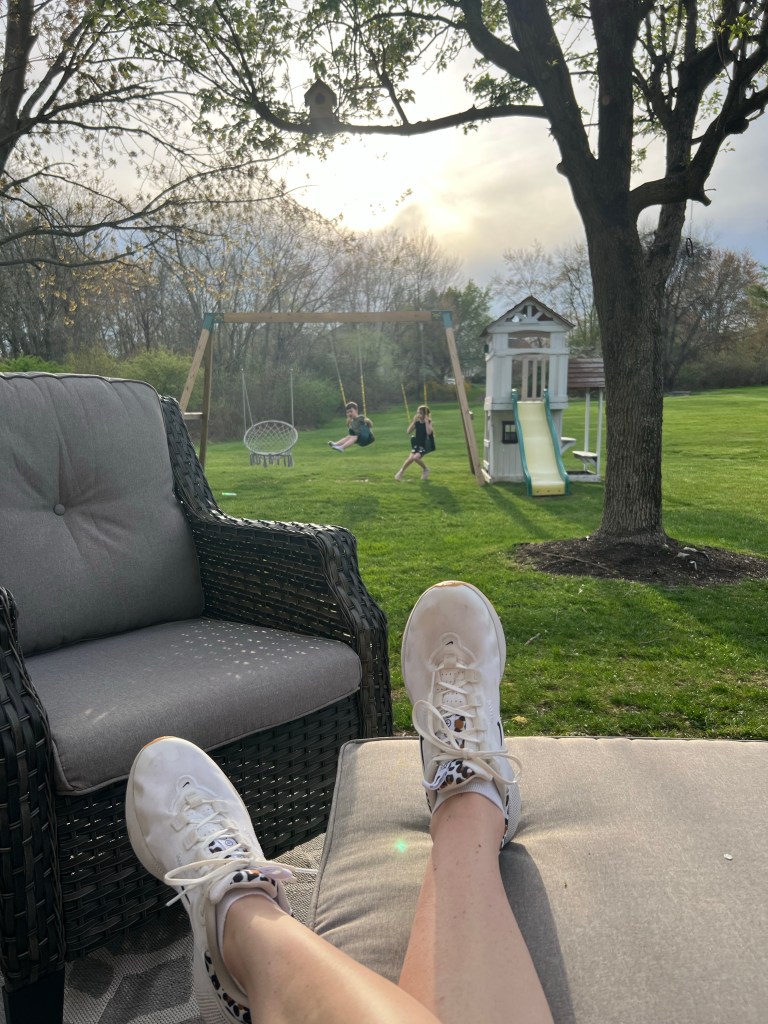
I’ve changed some things around since then. Still one of my most favorite spots outside.
Make this project easy for yourself and have all your supplies delivered. This entire project was around $600 and we have more than gotten our moneys worth!
