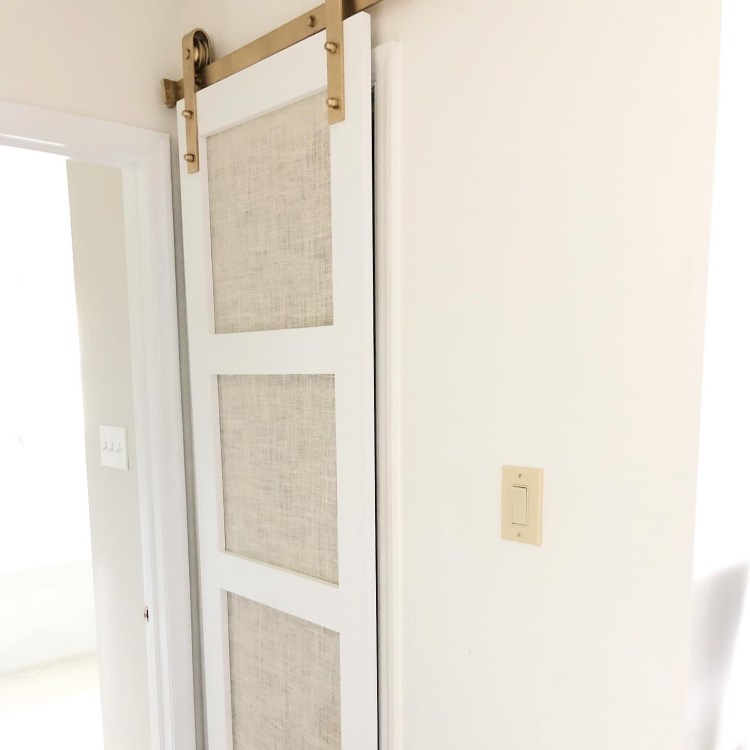
My closet doors made NO sense because they opened inside the closet leaving half my clothes blocked and this drove me nuts. The area was a tighter space so I couldn’t just order a barn door…no I had to make one. Not just one but TWO. In the end it was a fairly easy DIY and the outcome is totally worth it!
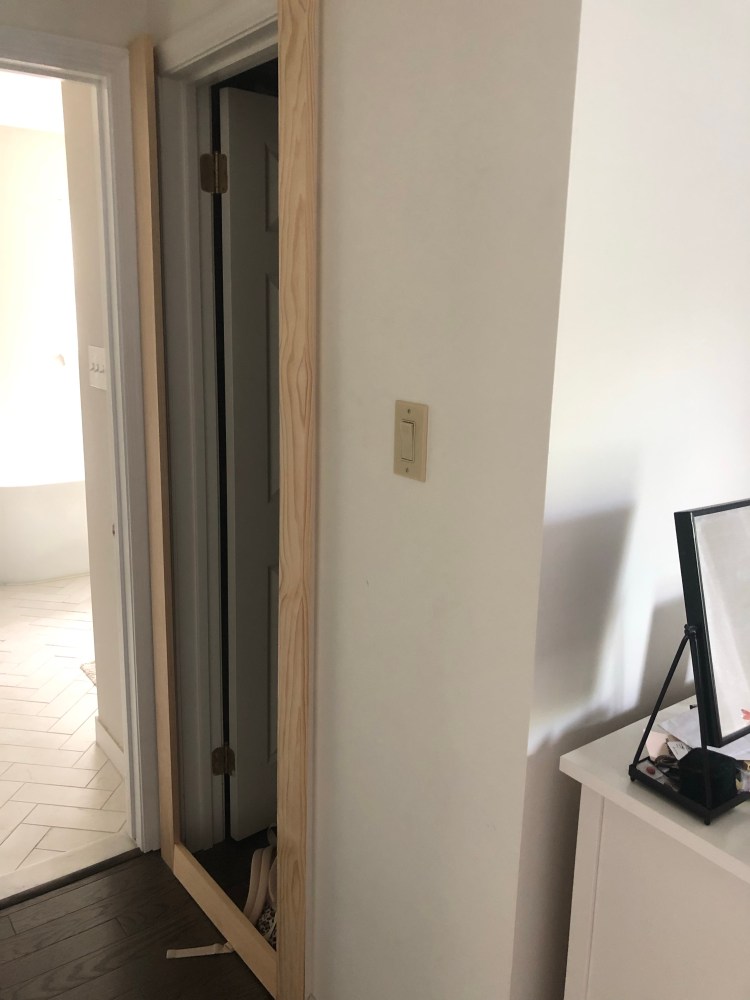
BEFORE

I wanted to do something other than all wood. I LOVE the look of rattan but after pricing it out I decided that just didn’t seem like money well spent…soooo I opted for burlap. I got mine at hobby lobby and they have a few different colors of burlap.
Burlap has a strong smell to it at first so I read laying it outside and sprinkling baking soda helps and sure enough, it did!

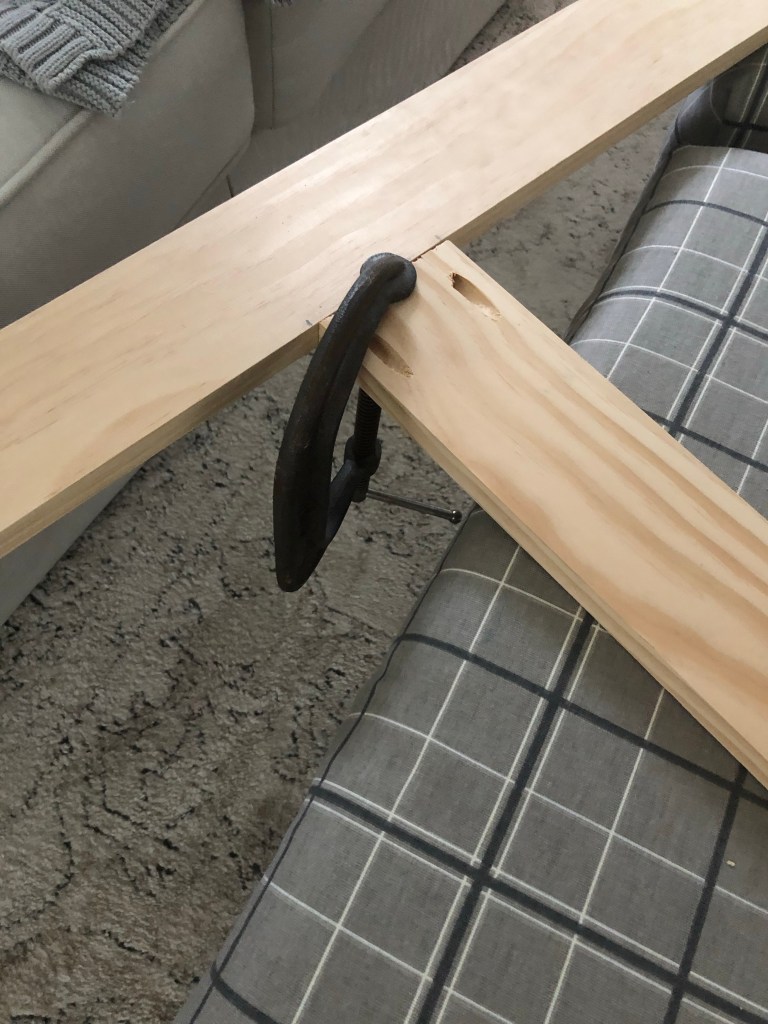
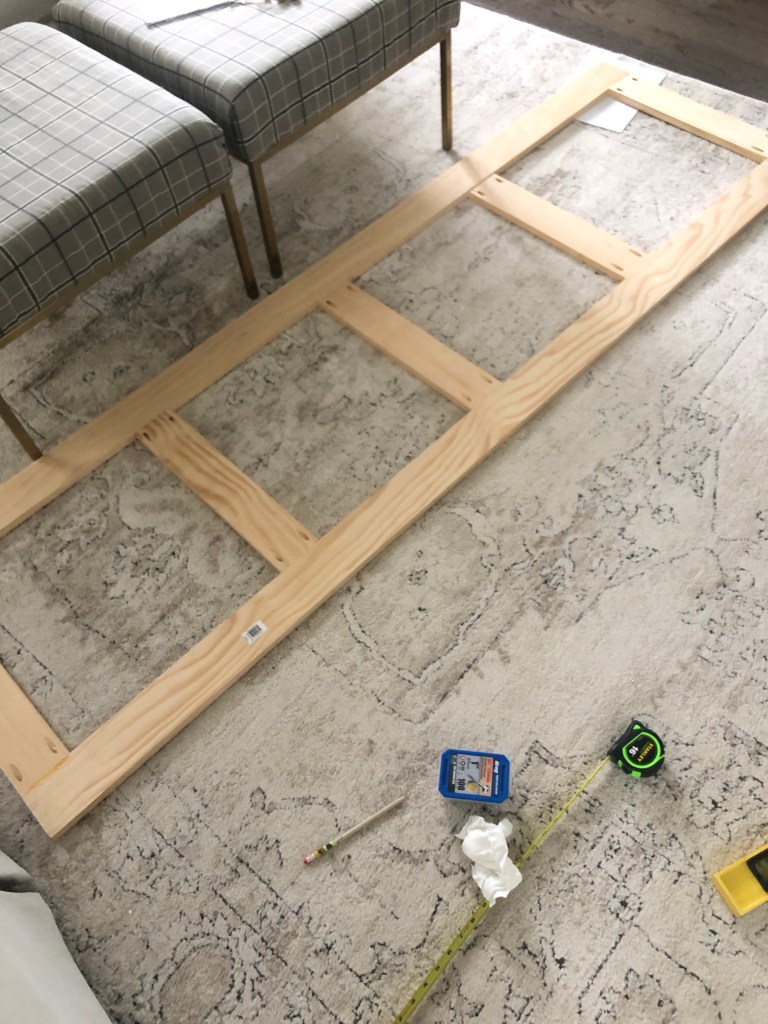
Next it was time to figure out how wide and what type of wood to use for the frame. I ended up using pine boards that were 1 x 4 inches thick and wide. I measured how wide the door needed to be and took into consideration the wall it would slide open on.
I made my cuts accordingly and next went to decide how many window panes I wanted that I will later attach burlap to. I made all the cuts and attached everything by making pocket holes (lots and lots of pocket holes).

Once the frame was secured it was time to prime and paint. I ALWAYS use a foam roller for these types of projects along with BM Advance paint.


Now it is time to add the burlap. Since some of the burlap was snagged I decided cut each burlap frame out separately. I just stapled the burlap to the door and used a rubber mallet to hammer any staples that weren’t flush.
Don’t pull the burlap too tight but just enough so it isn’t sagging.

I ended up caulking a little where some of the wood boards meet to give it a more finished look.
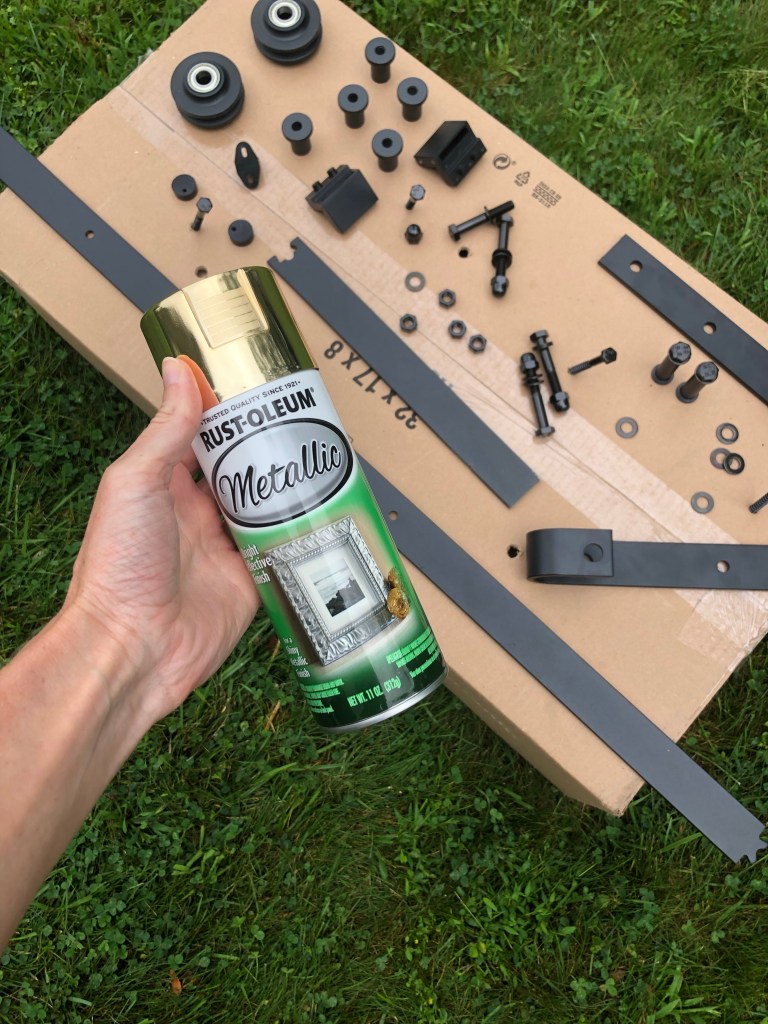
Now it is time for the rail. I got the barn door sliding track from amazon for only $39.99 which is definitely an amazing price. I searched high and low for one just the right size but never came across it. So I ended up cutting it down. I also wanted a brass finish and not black so I simply spray painted it.
I used my reciprocating saw to cut down the metal rail. This was actually way easier than I expected considering I have never cut on anything metal. I used painters tape where I needed to cut.


Once I made the cut I then spray painted everything.

Now it was time for the scary part which meant measuring over and over where to hang everything. This will vary based on how tall you make your door and how high you hang the rail.
I simply followed the directions for hanging the rail which was relatively easy as the holes are spaced for studs. Once I had the railing up it was time to hang the door.