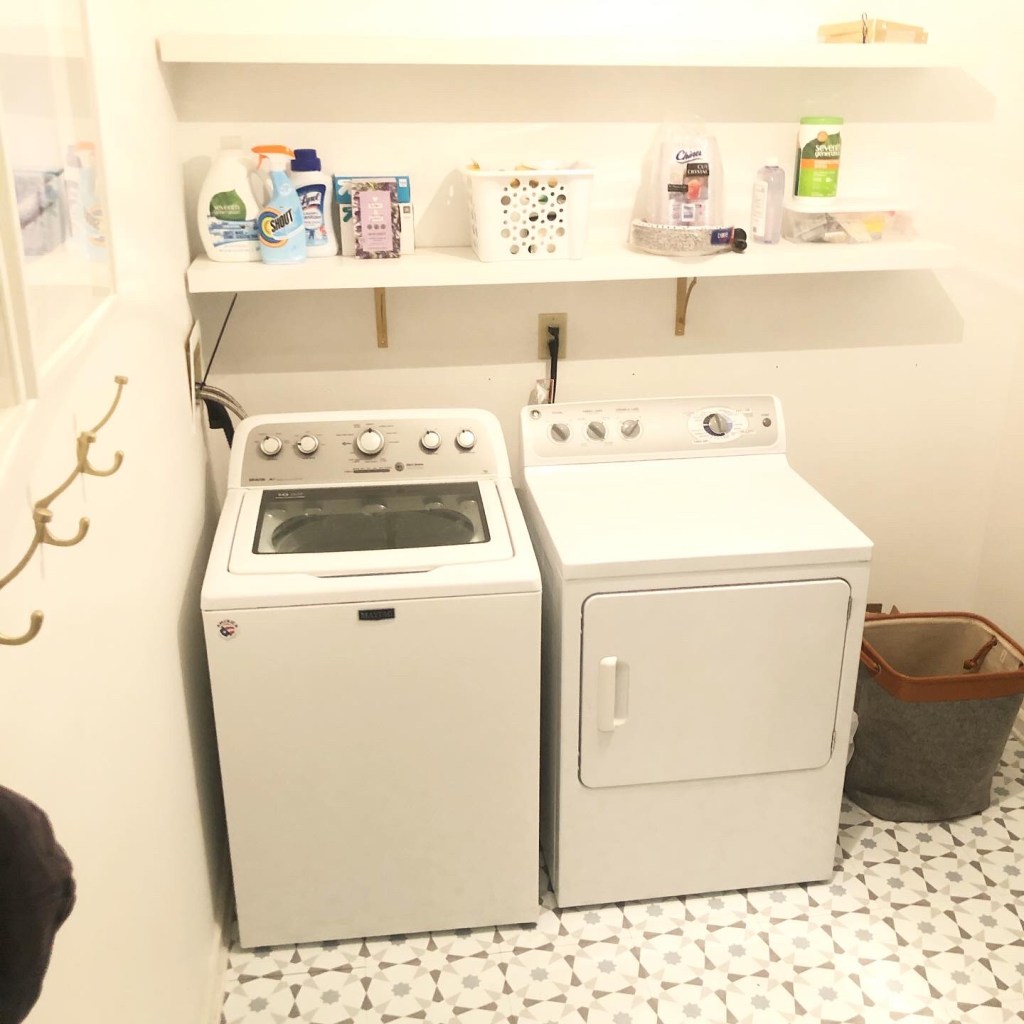
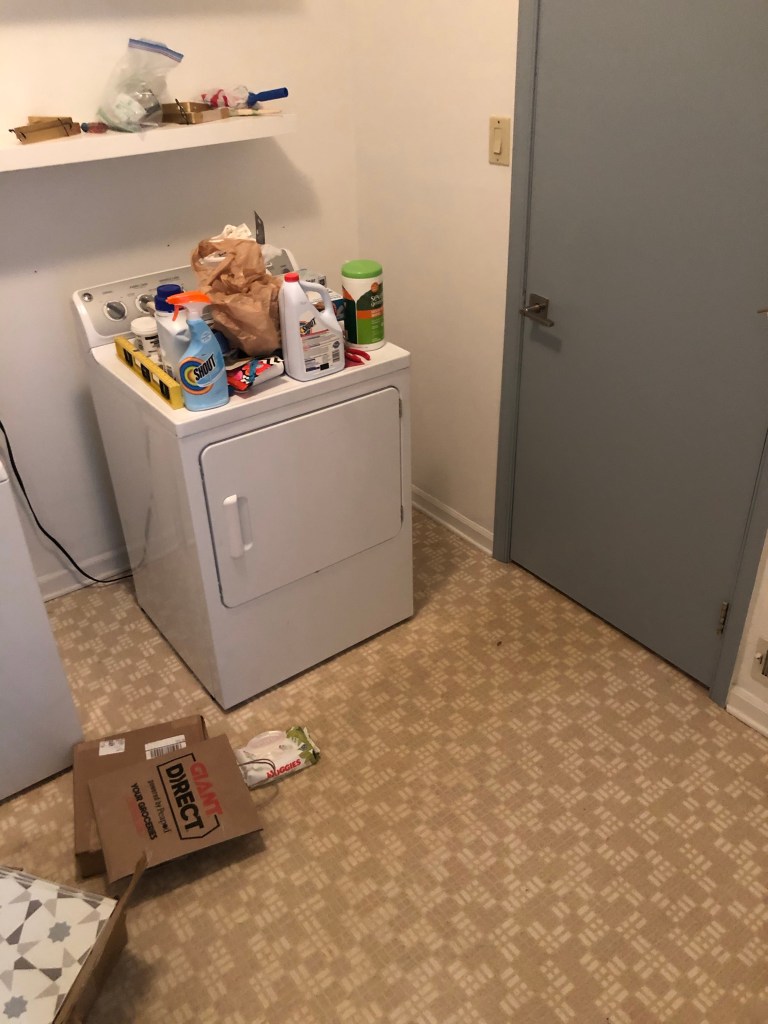
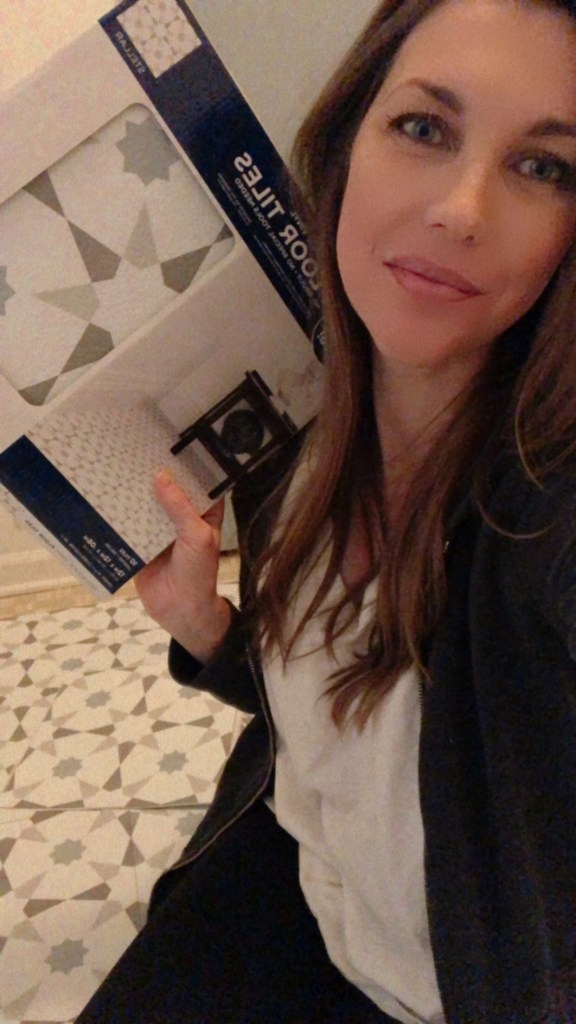
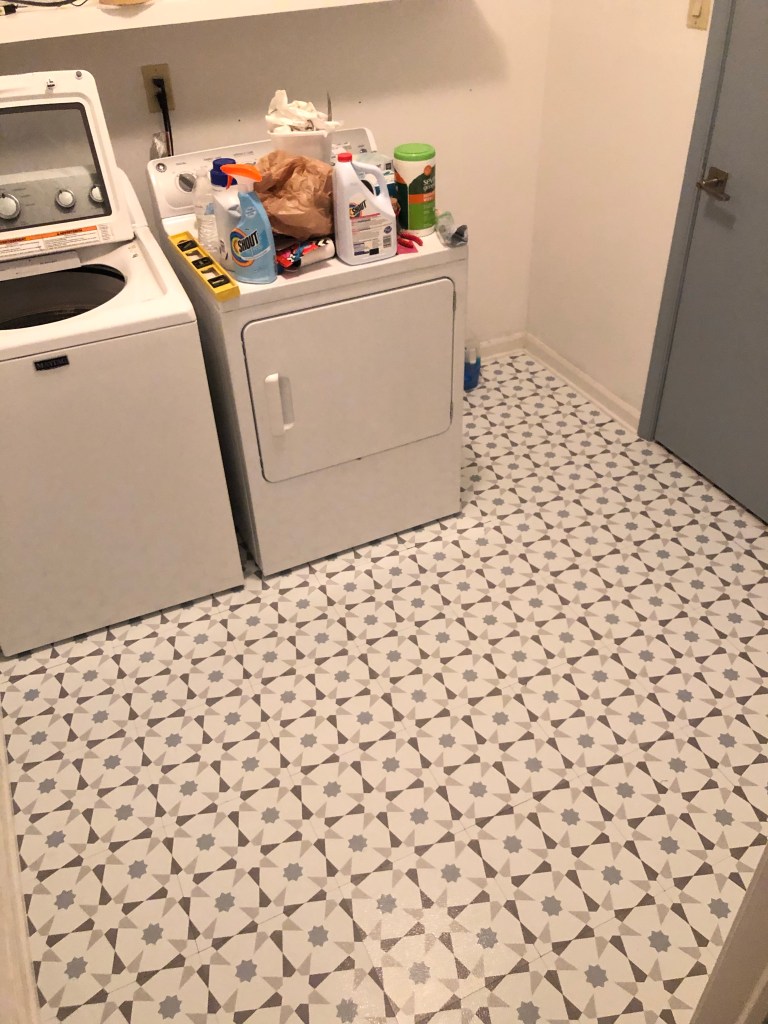
Do you ever see your rooms and think oh some paint will do the trick? Well I thought that until I painted my laundry room and realized the white fresh paint only made my old floors look extra yellow. I had been wanting to do Floorpops peel and stick vinyl tile and figured why not? I mean with covid happening and not leaving the house much it was the perfect time. Thank goodness I pulled the trigger because it was under $100 for the entire laundry room and seriously took a few hours. I even cut the pieces down with scissors, sooooooo easy!
This type of peel and stick can go directly on top of your current flooring. Before installing I cleaned my floors really really well with baby wipes and a degreaser. This just helps the tiles stick better. I also let the tiles sit in the room for two days to acclimate to the temperature of the room.
After that I picked out my starting point which according to the directions it’s supposed to be the center of your room but I decided to start in the right upper hand corner just because I felt like it would look better and I would have less cuts to do and since the back of the room was mostly covered by the washer and dryer I went with this option.
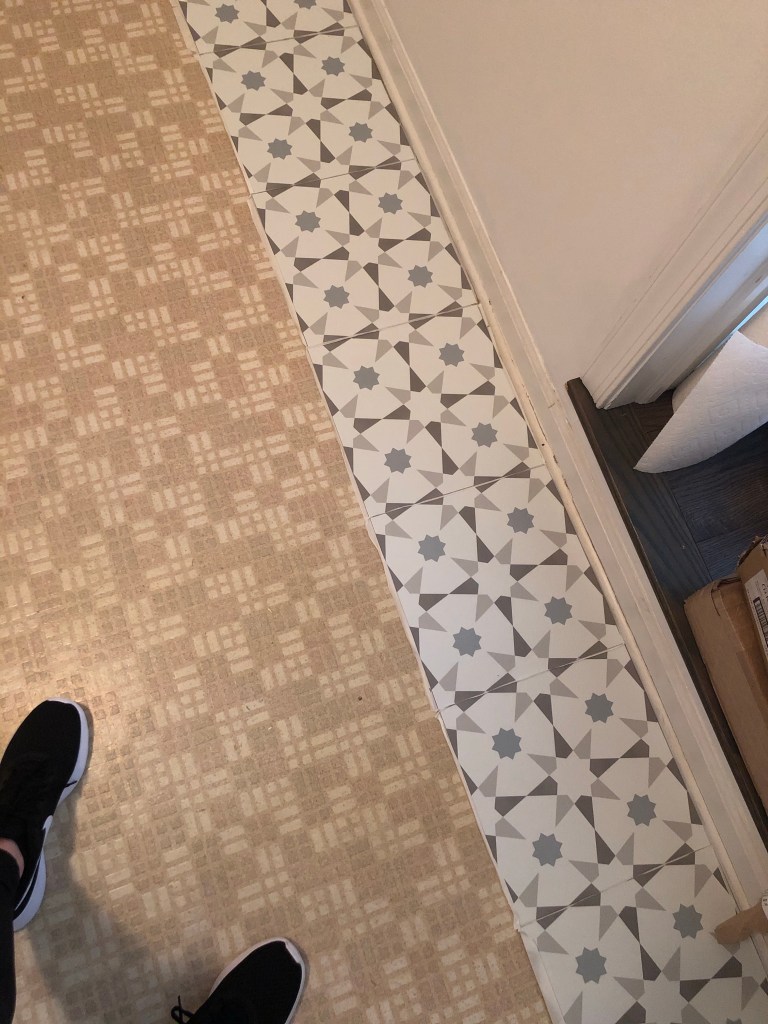
All you do is peel off the backing and place your tile exactly where you want it and from there I just kept going and matching up the pattern. I did notice that you had to play around with some of the tiles as some of them weren’t matching up correctly but I managed to make them all match up pretty well.
I saved all my cuts for last. I also left my washer and dryer hooked up and just kind of move them around and laid tiles under them which was way easier than I expected.
Once I got all of the easy tiles laid I then took a pair of scissors and started cutting my tiles.
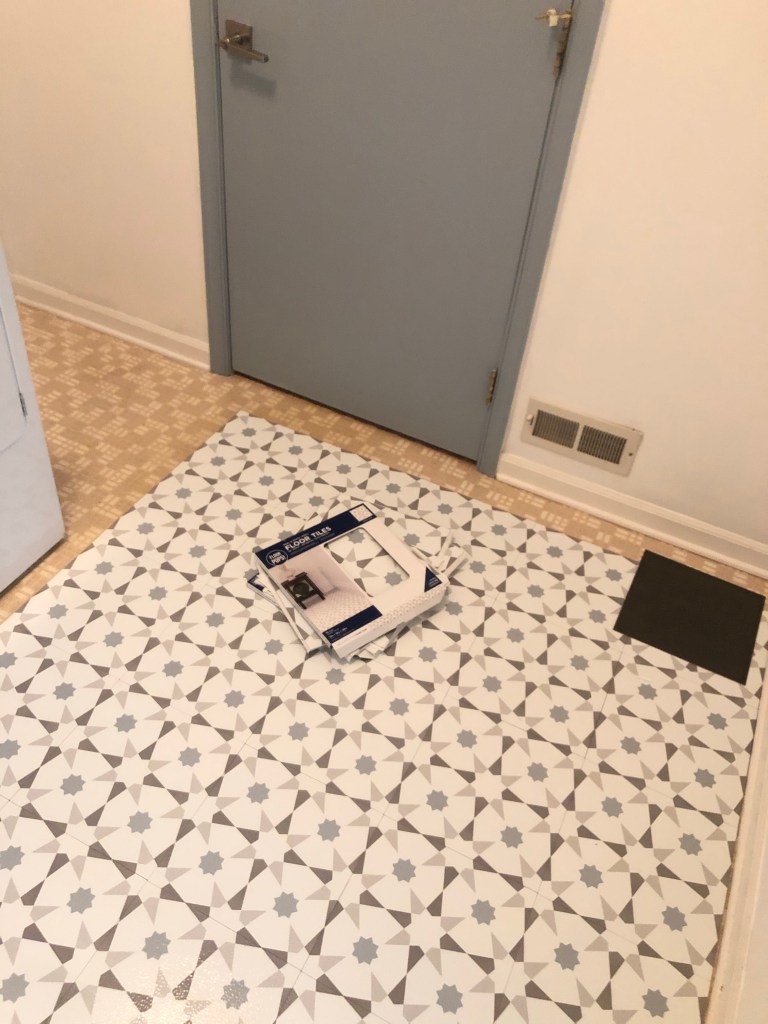
The hardest part was cutting around the door and I took a plain white sheet of paper and made a guide and used that to cut and then I just kept trimming a little by little off until it was a pretty snug fit.
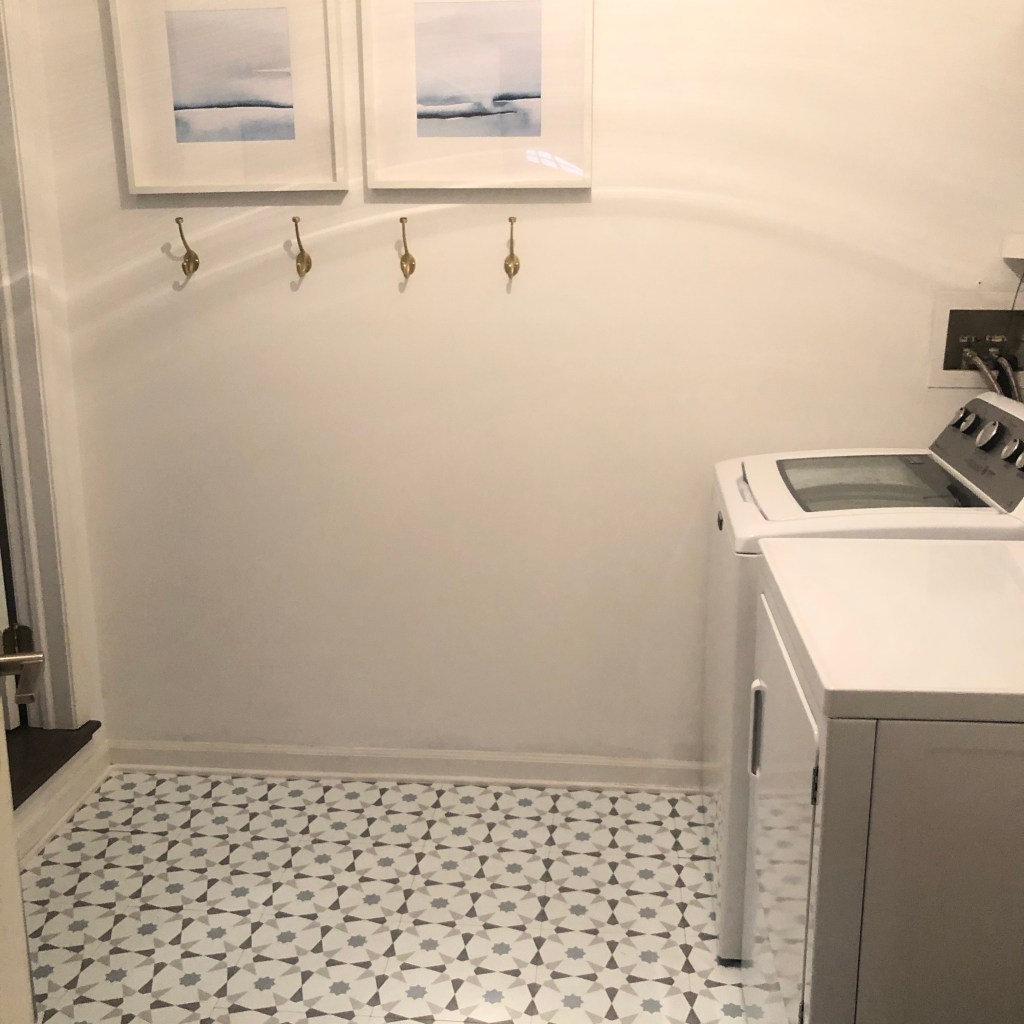
The final step was caulking around the entire room just to make it look even better and more finished.
Again this was such an easy project!!