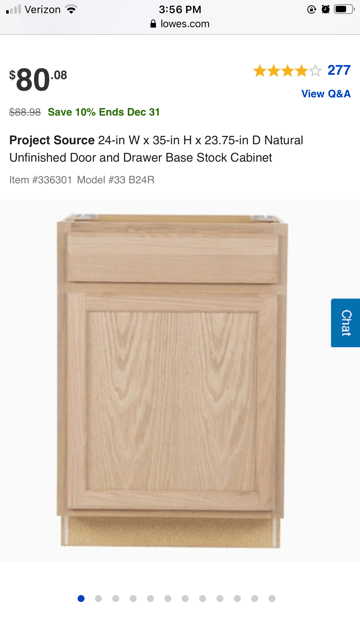
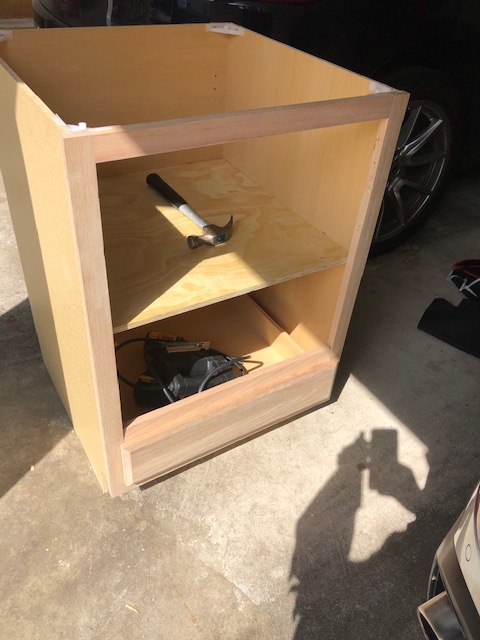
I bought a 24 inch unfinished stock cabinet and a 30 inch one. I reallllllly wanted my microwave to be built in the island and didn’t sleep until I figured out a way (but for real). So below are allllll the many steps to building a kitchen island but I promise it was easy. And affordable.
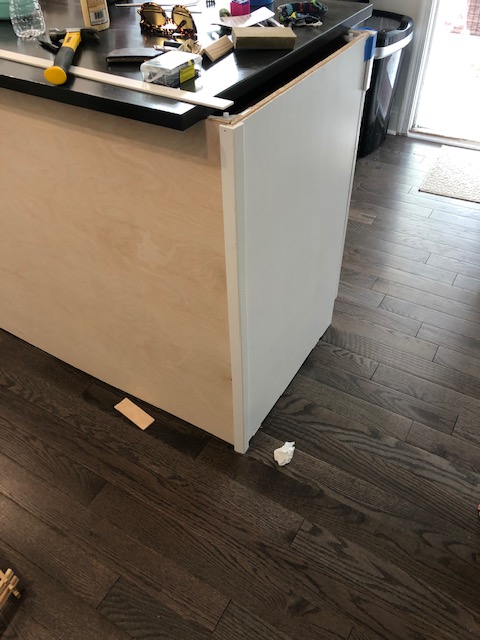
Here are the two stock cabinets I purchased:

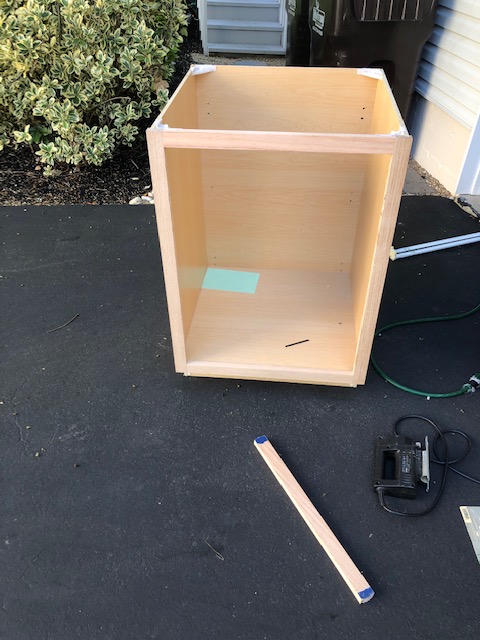
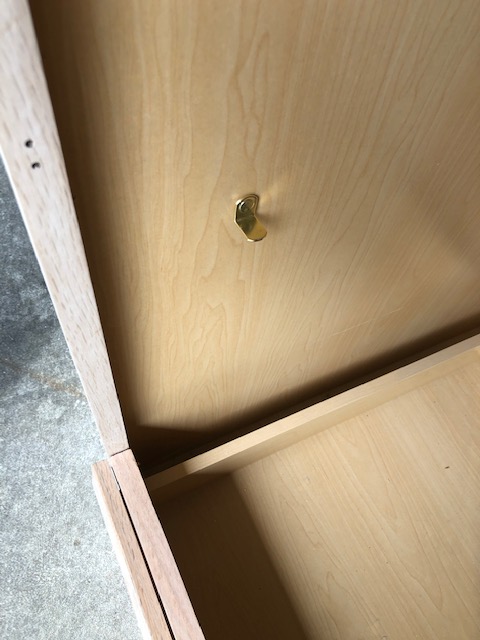
Since I wanted the microwave in the island I decided to cut out the drawer and move it lower so the microwave can sit up top. Thankfully the cabinets from lowes already have holes for the drawer down low which was a huge win. So all I had to do was cut out the other part of the drawer.

I added tape to help not split the wood and actually just used a hand saw to cut it off.
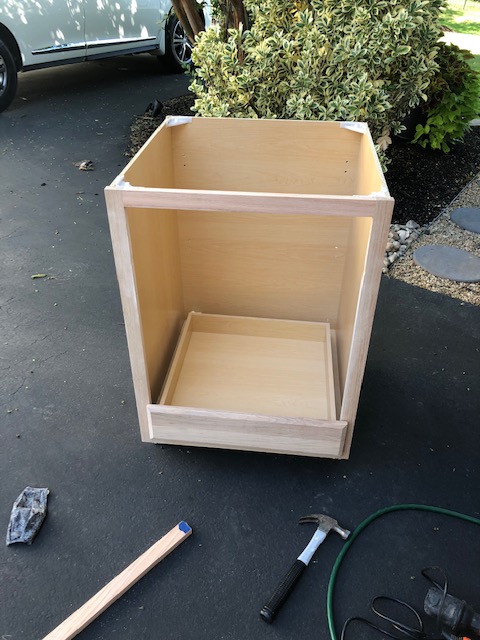
Next I just moved the drawer down low.
Next I went up to Lowe’s with my measurements for the shelves I needed. I figured I would do one for the Microwave and one as an open shelf for cutting boards. I also grabbed a new 1″ x 1″ and a 1″ x 2″ to help trim out the shelves and hide where the drawer closes. Don’t forget the shelf hooks either (linked here)
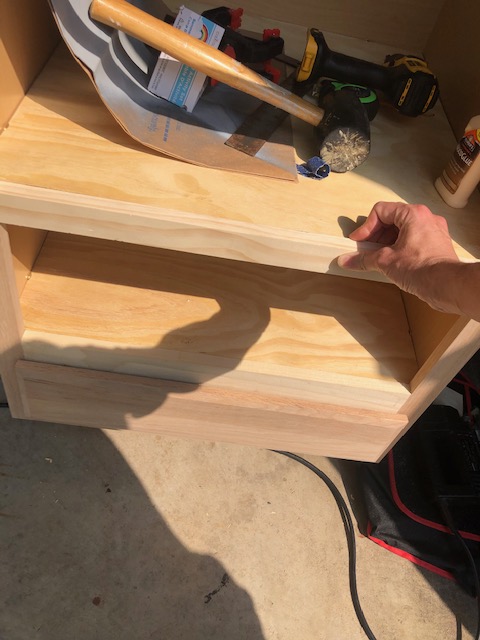
That is what it will look like after you nail in the trim.
Make sure you sand these cabinets SUPER good or you will regret it (believe me). I then used my go to paint which is Benjamin Moore Advance- it is the BEST for cabinets and furniture.
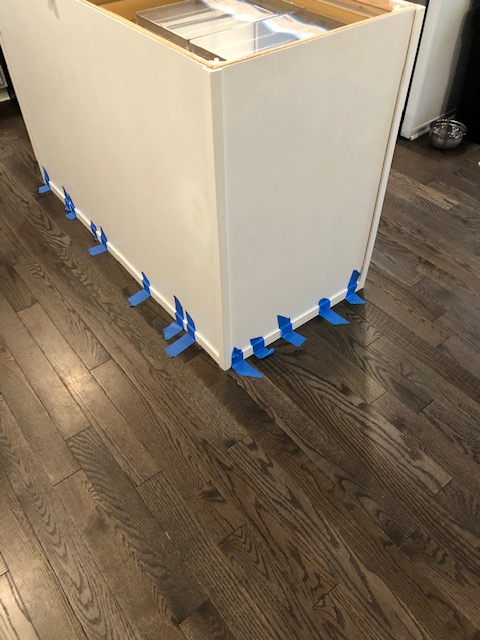
I had my contractors anchor the island since I was scared to drill into my new floors but you can make a frame using 2x4s and attach the island to those.
NOW it is time to frame out the sides and back. I was able to get by with the thinnest plywood I could find. I needed two pieces and had them cut it down so it would cover the sides and back of the island perfectly.

Just nail everything in and most of the nail holes will be hidden with trim.
Since I did this during COVID and couldn’t keep running to the store with my kids I settled on trim I had laying around. I wish I would have done something chunkier but oh well.
I picked up corner trim so it would cover where the two pieces of plywood come together.
I used lots of wood glue and then did just a few nails which I covered with wood filler.
Once I added the corner pieces all the way around I moved on to the bottom part of the island (where I wish it was a little chunkier) I once again used LOTS of wood glue and a few nails.
I bought some toe kick for the front but it was a little short so I played around with a lot of the trim I had and made it work. I added trim to the top to hide the gap and then the bottom to copy what was around all the other sides.
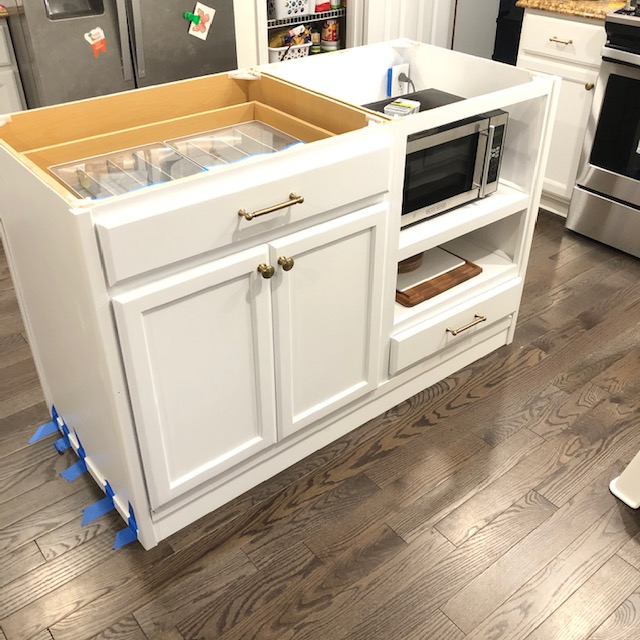

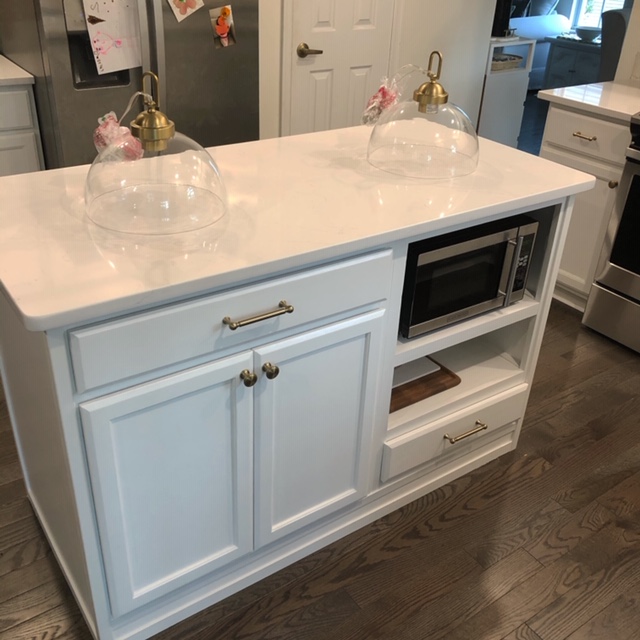
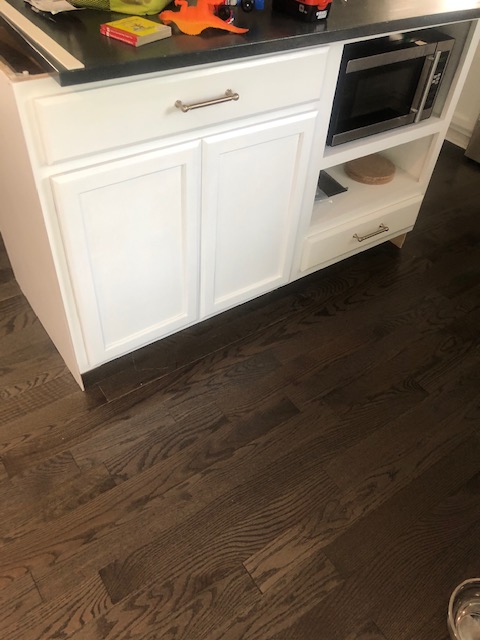
I cannot get over how good the finished product looks! It was a lot of steps but very easy (I don’t even own a real saw yet). So you can totally do it!!!! And now I have a custom island for much much less.

What were the measurements for your shelf?
LikeLike
22.5 x 23. I then trimmed everything out. Good luck!!
LikeLike
Love it! How much over hang of counter do you have?
LikeLike
thank you! I have an inch and half over hang.
LikeLike